Scheduling Banner Images in Transactional Templates
1. If your transactional template(s) uses a specific image or "banner", you can customize it from the "Image Selection" button.
NOTE: Changing this image/banner will change it for ALL email templates that use the banner (unless you have requested otherwise)
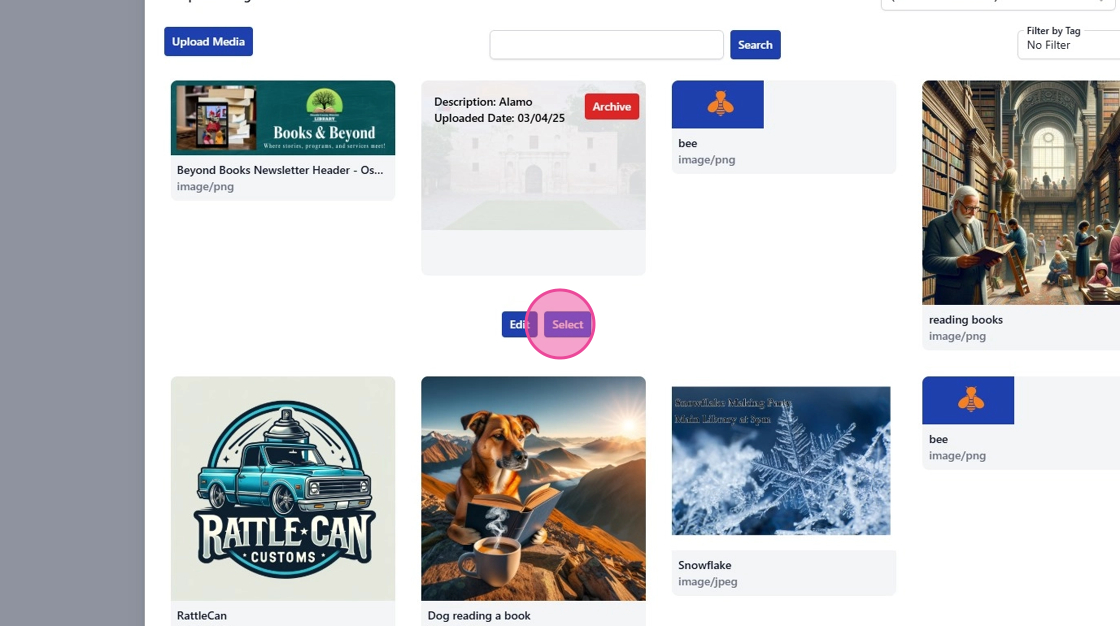
2. First, you will want to upload any images you are wanting to schedule to the Media Library.
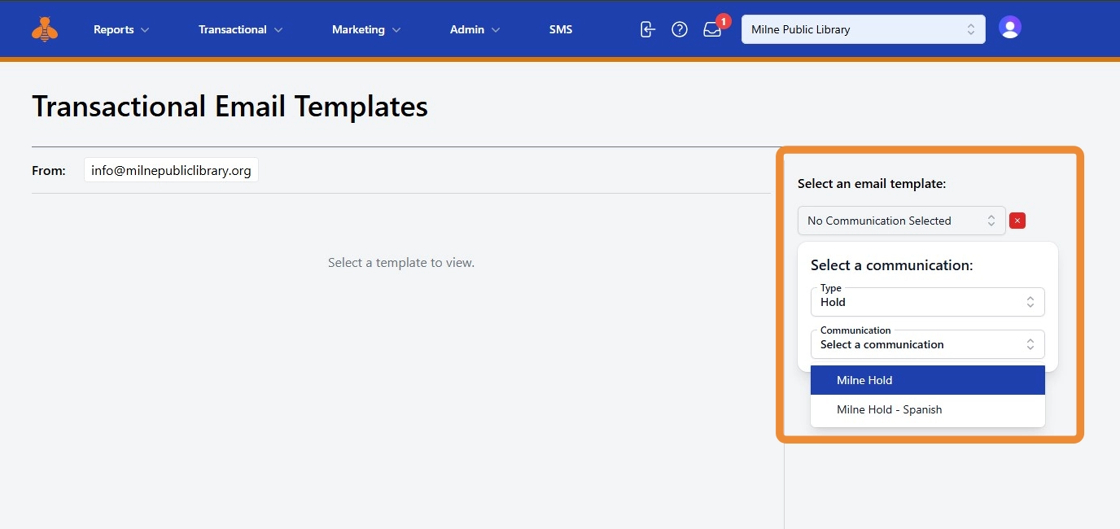
3. Next choose a template from which to update.
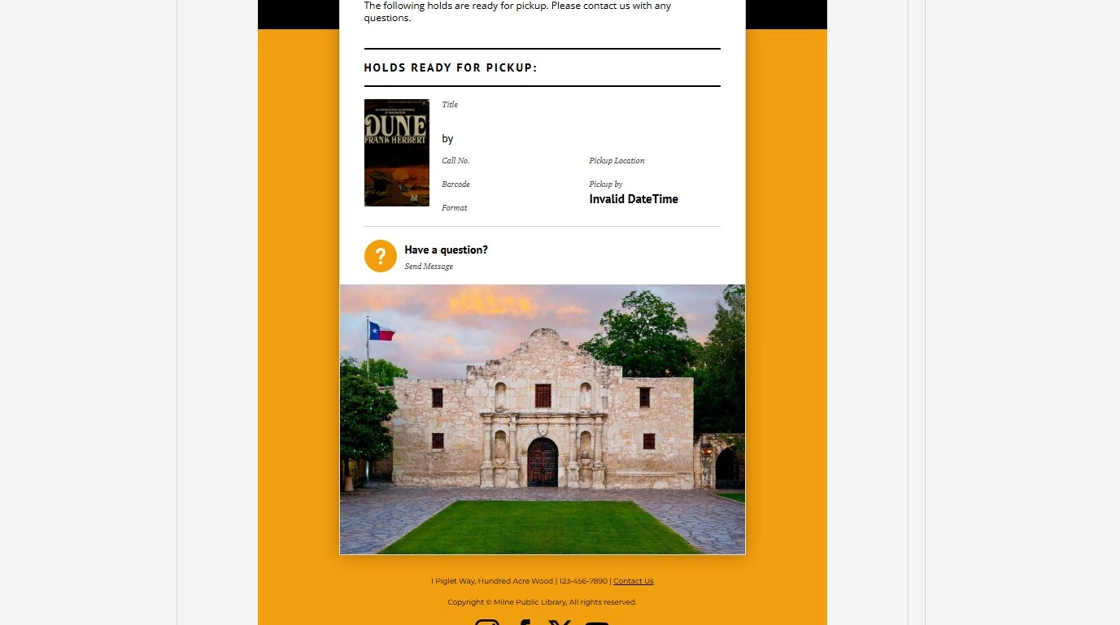
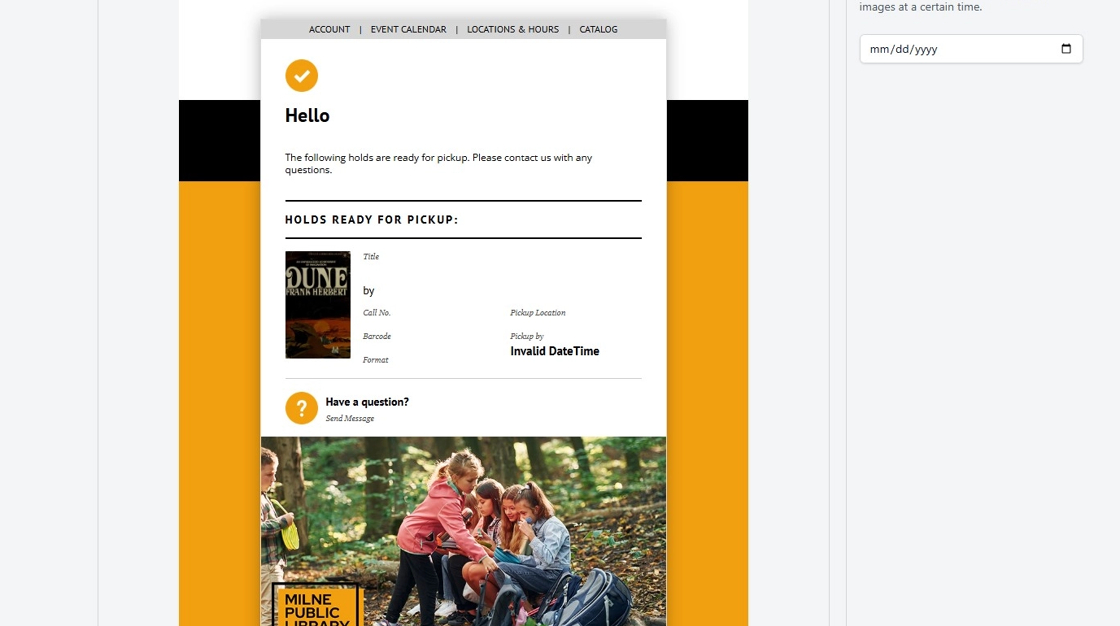
4. You will see your current email template and banner that is in place.
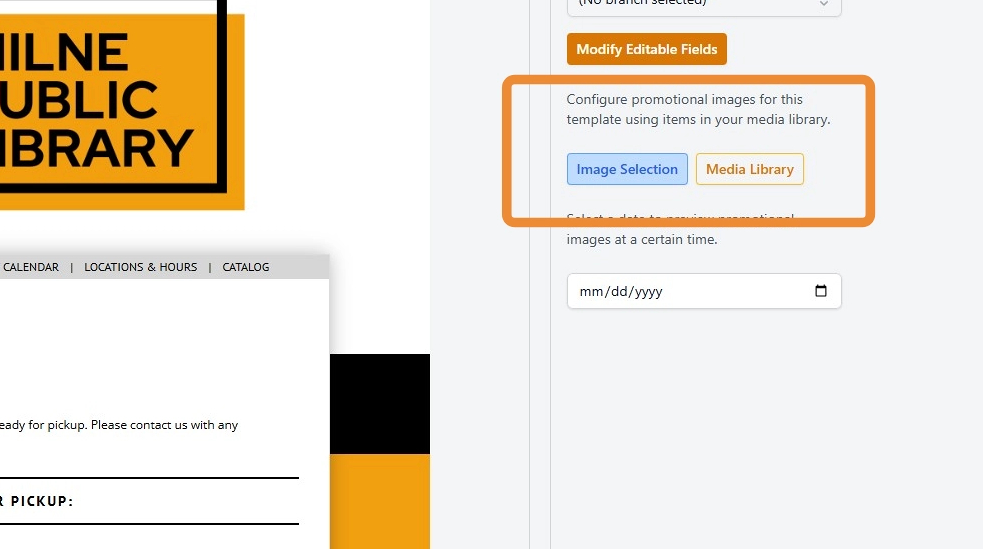
5. To the right of your template, you will select "Image Selection".
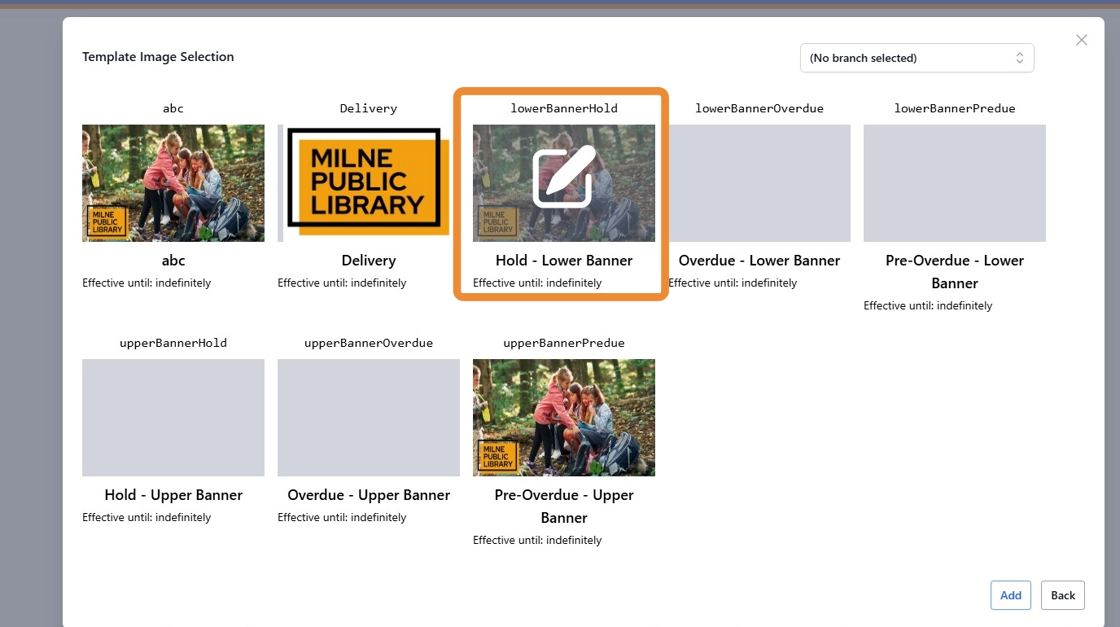
6. In the window that appears, you will see all banners currently in use. Click on the banner you want to update.
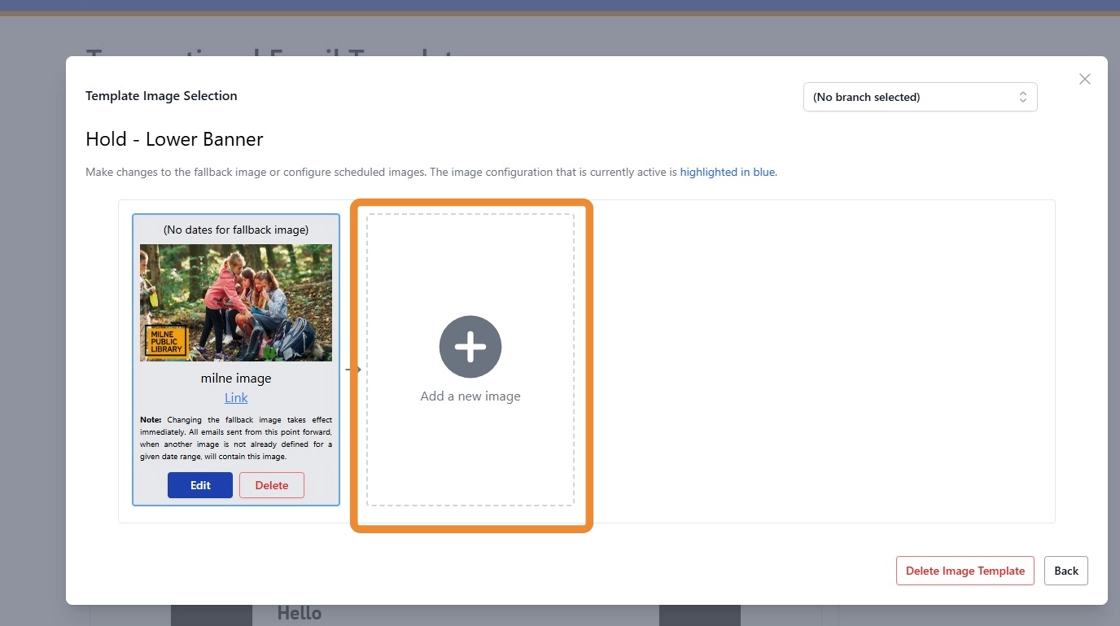
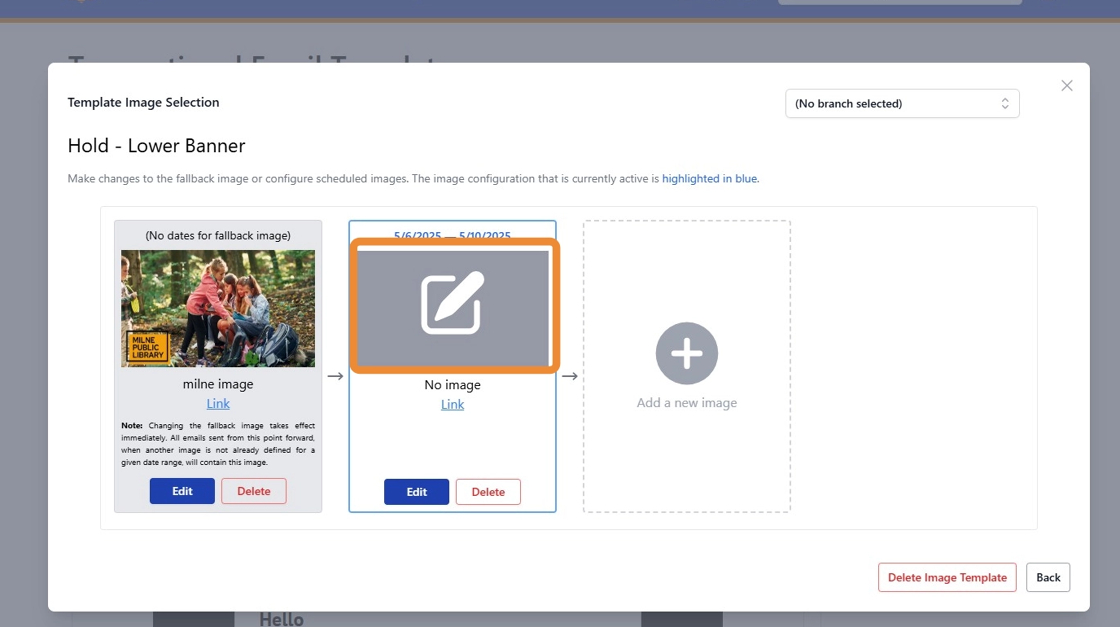
7. The default/fallback image will be displayed. To shcedule a new banner image, click "Add a new Image".
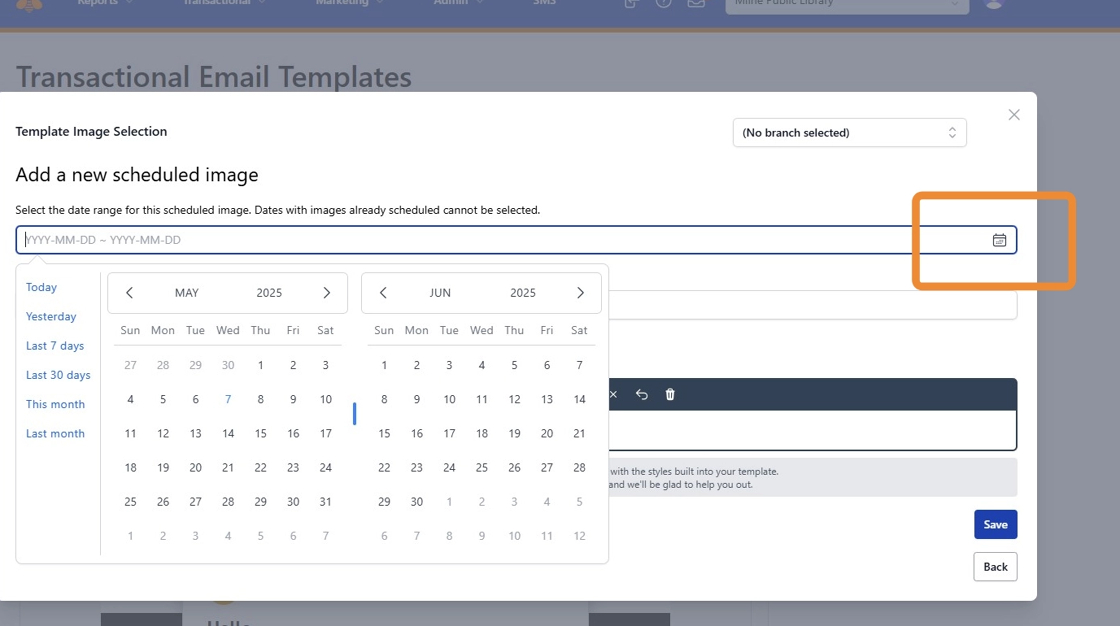
8. Set Active Dates: Use the calendar tool to select the dates during which your new image should be displayed.
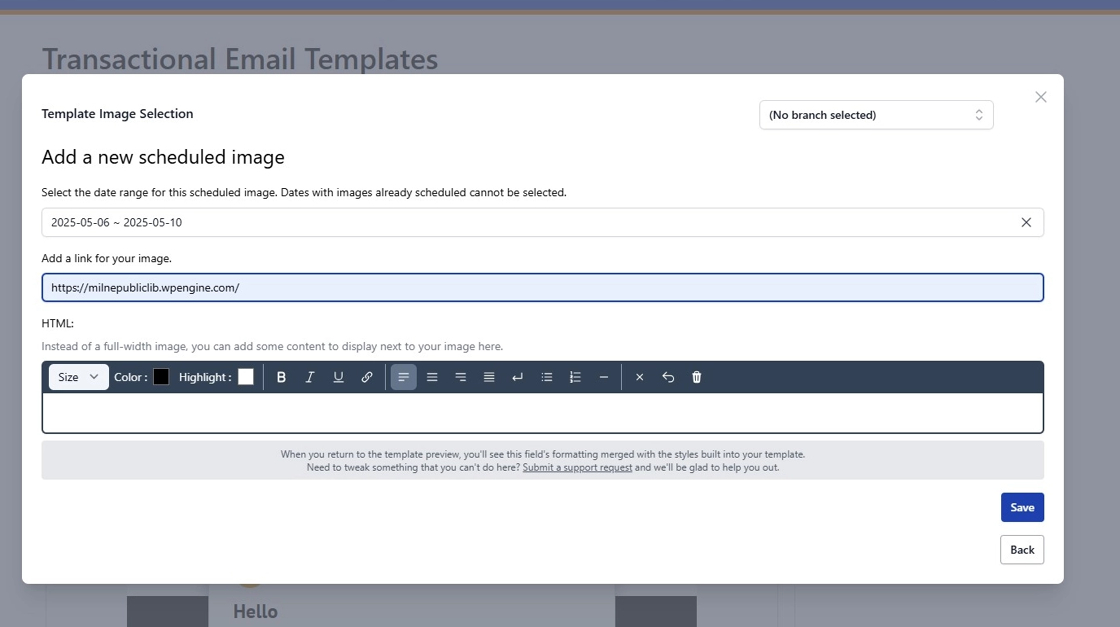
9. Add a Link: Assign a URL to the image. This can be your main website or a specific link related to a program or event.
10. You now have scheduled your image times.
Upload Your Image: Click the gray edit icon to add your banner image. Select your desired image from the Media Library.
12. Your image and shceduled time period are now ready to go.
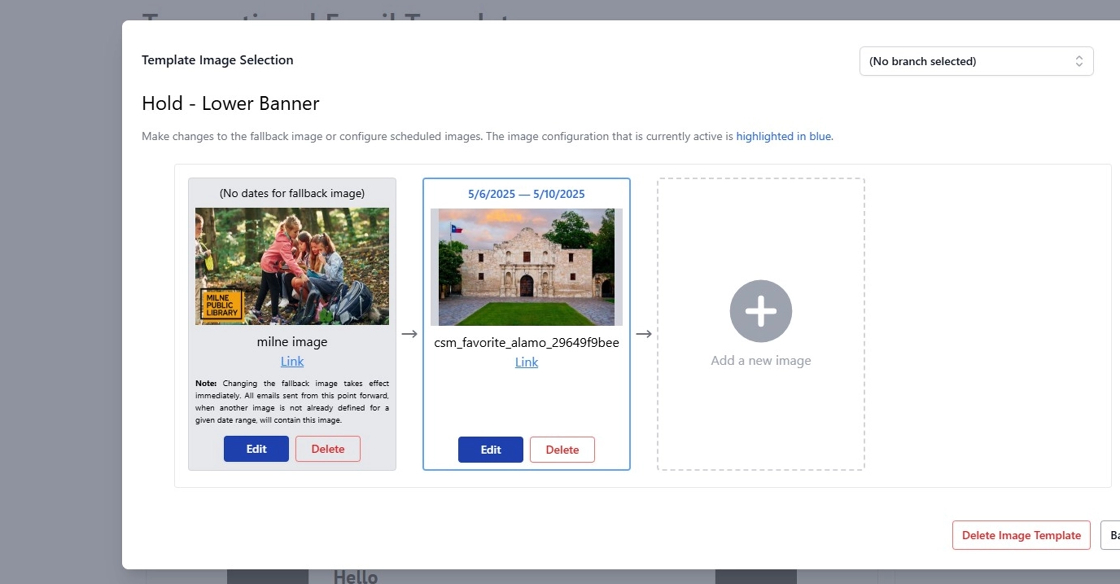
13. You have sucessfully scheduled and changed your transactional banner image.