Create a Widget in Message Bee
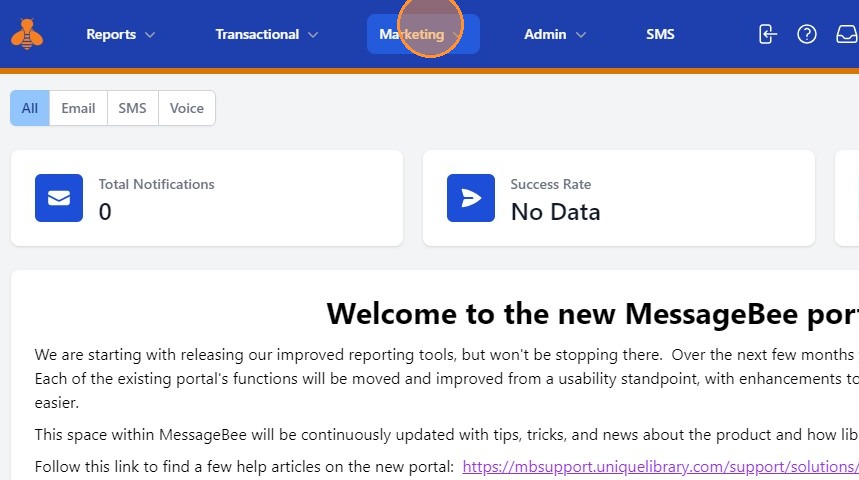
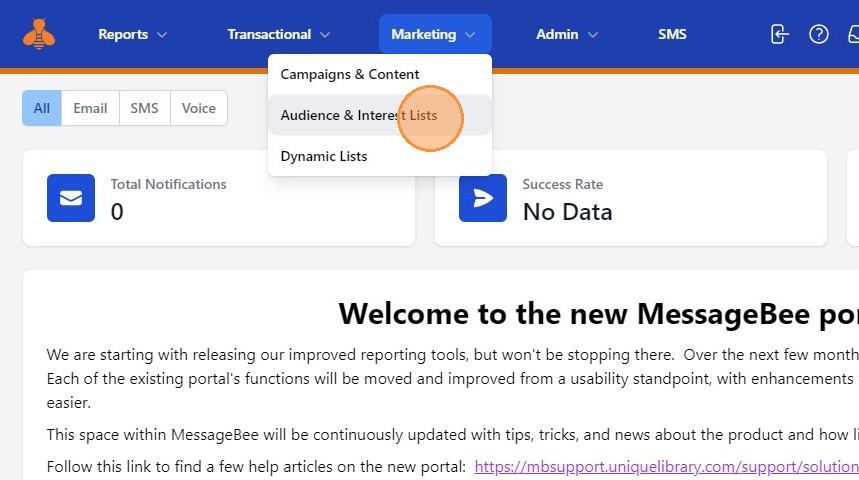
1. Navigate to the "Marketing" drop down
2. Select "Audience & Interest Lists"
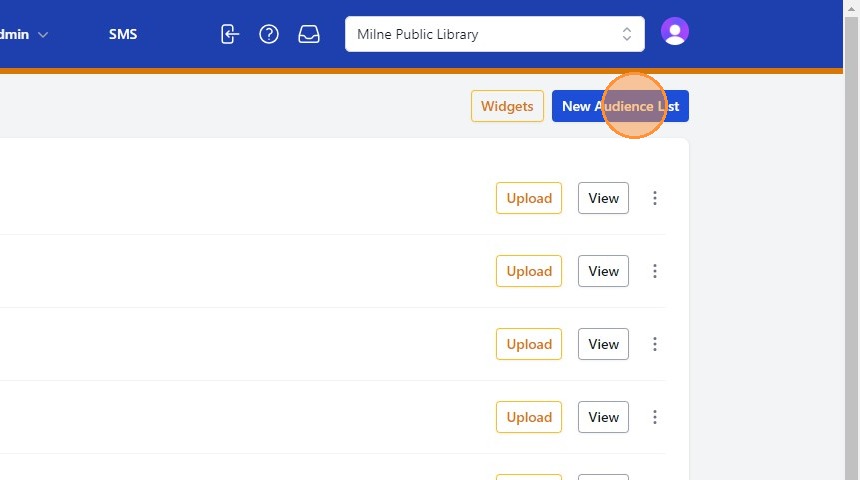
3. If you have not yet created an audience list or interest list into which new names will populate, you will need to create one. This is very simple. Select "New Audience List"
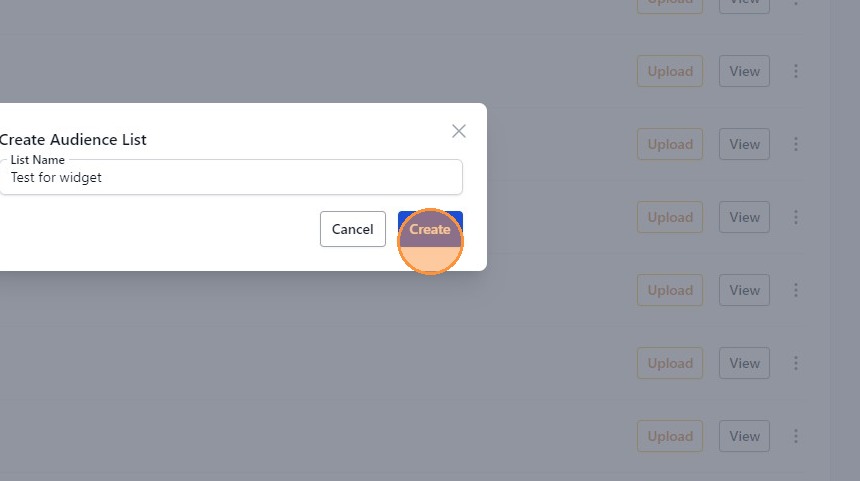
4. You will then provide the list a List Name.
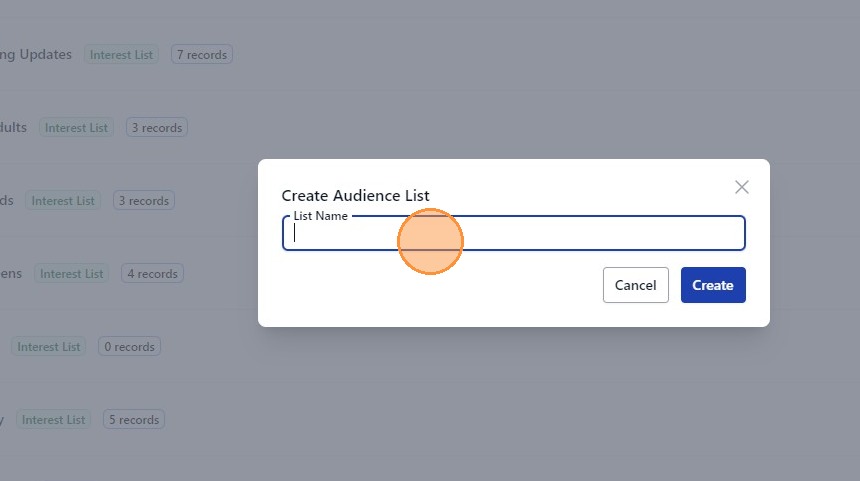
5. Once you have typed the desired name, select "Create"
6. CREATING A WIDGET
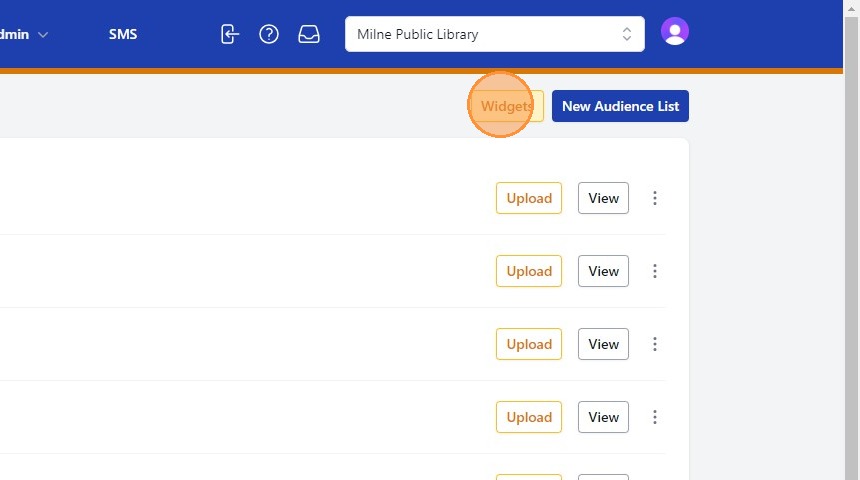
7. To create a Widget, Click "Widgets"
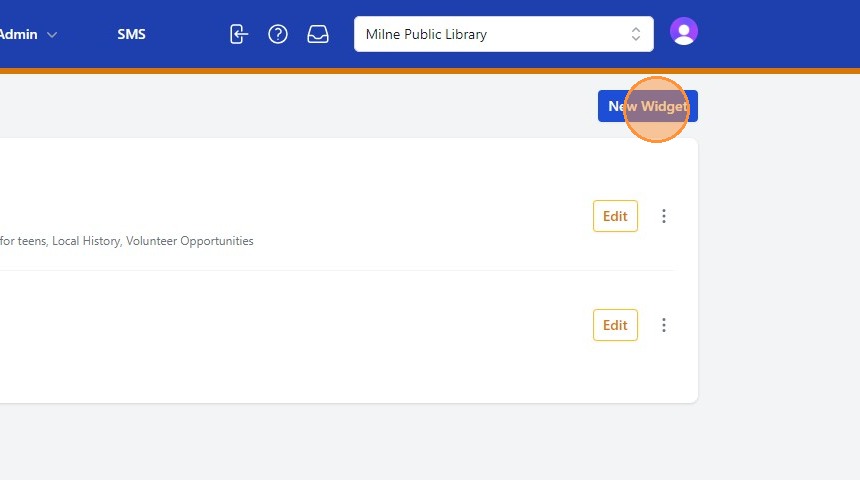
8. Click "New Widget"
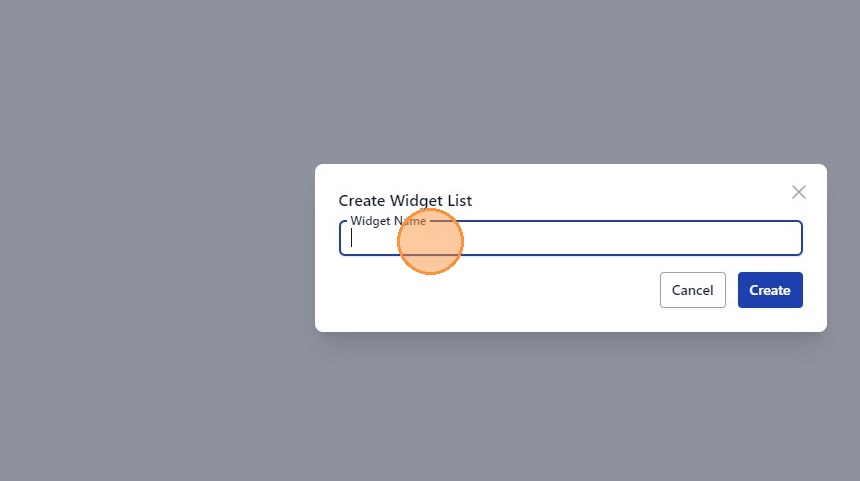
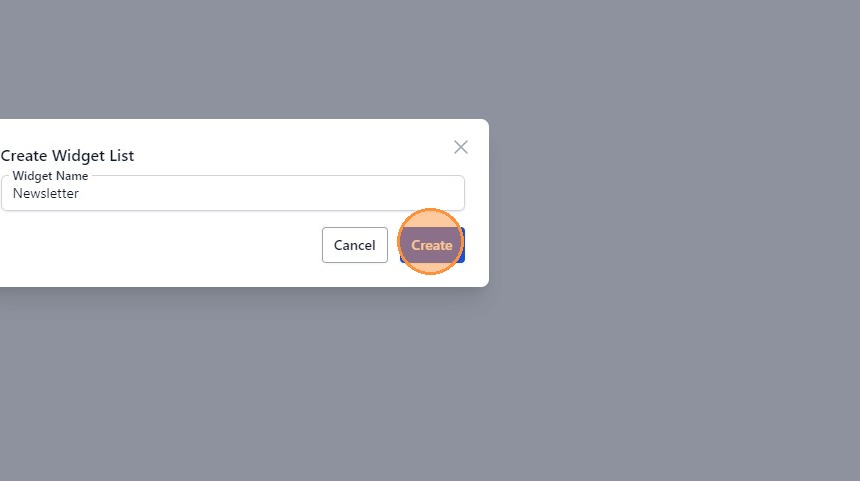
9. Provide a Widget Name.
10. After typing in the desired widget name, Click "Create"
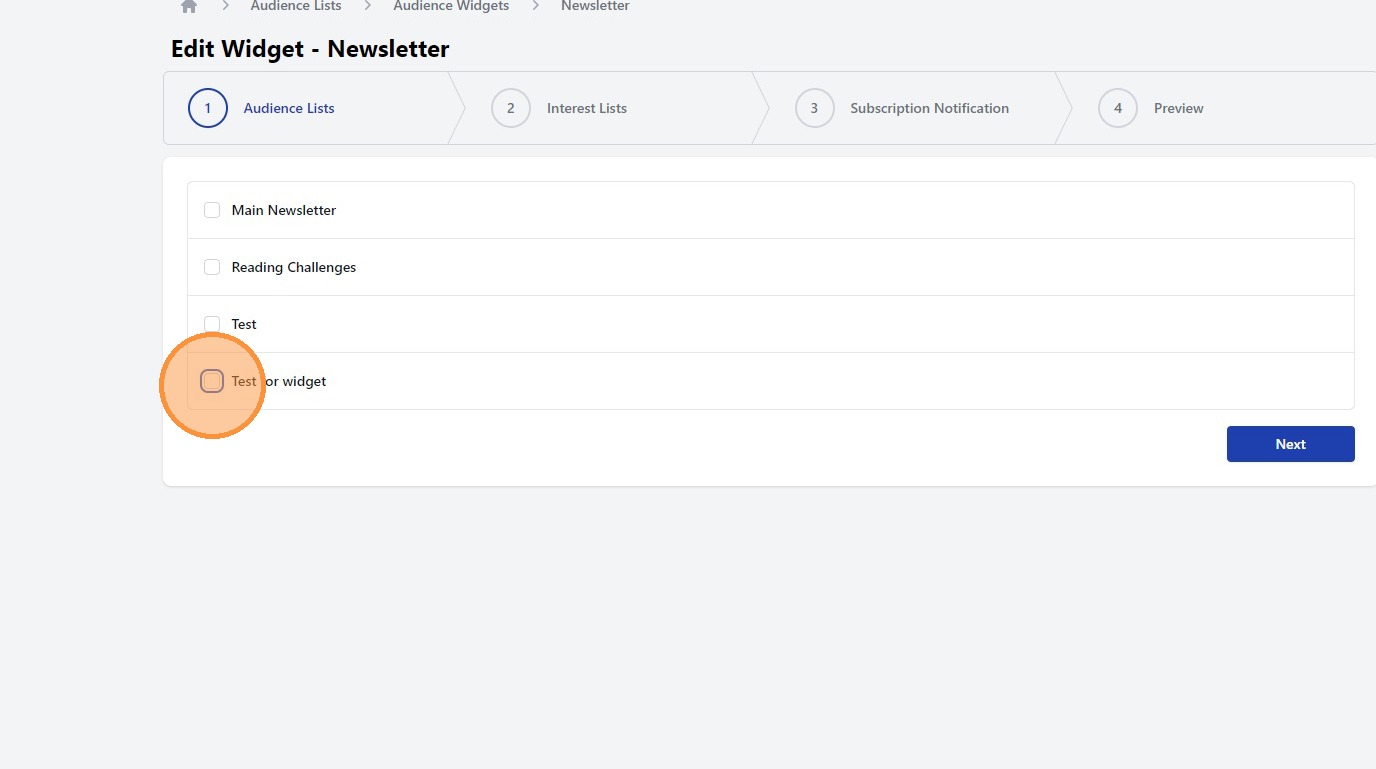
11. You will then walk through the widget set-up. The first step is selecting a list into which names will populate. You can assign names to populate into a Audience List, an Interest List, or both. In the example below we are adding names to the "Test for widget" list.
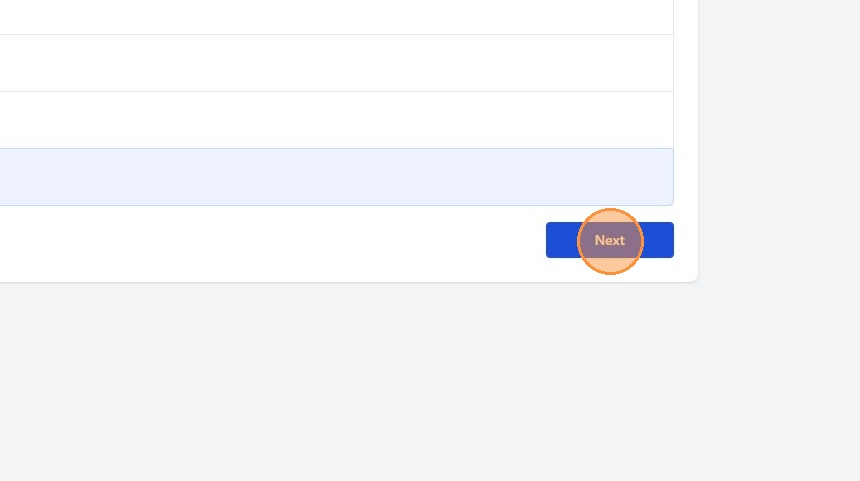
12. Click "Next" to proceed.
13. You can then opt to have names populate into an audience list. In the example below we are adding to the "Events for kids" field. You may select more than one list.
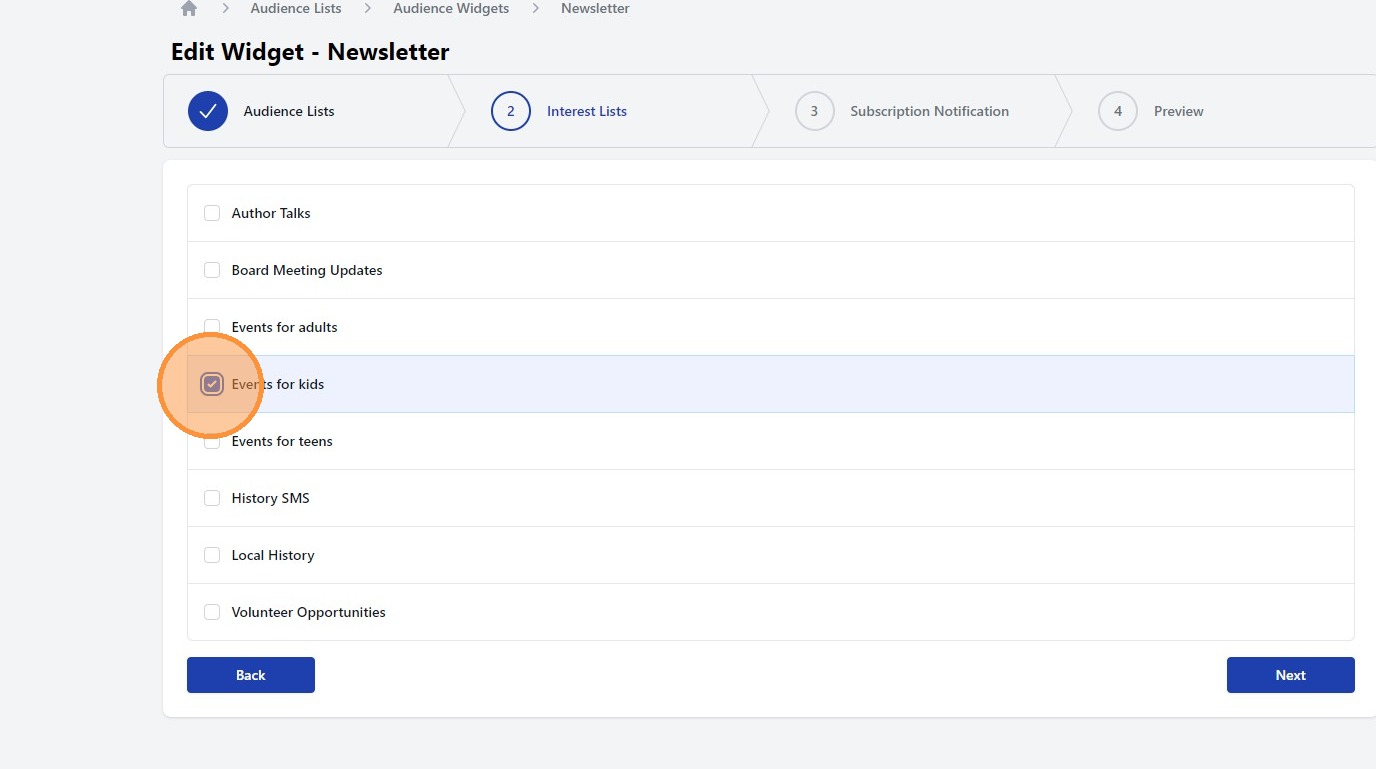
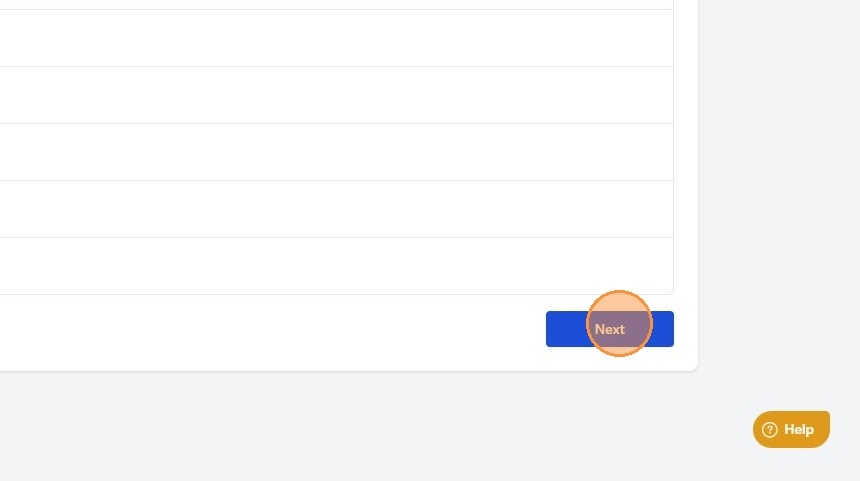
14. Click "Next" to continue
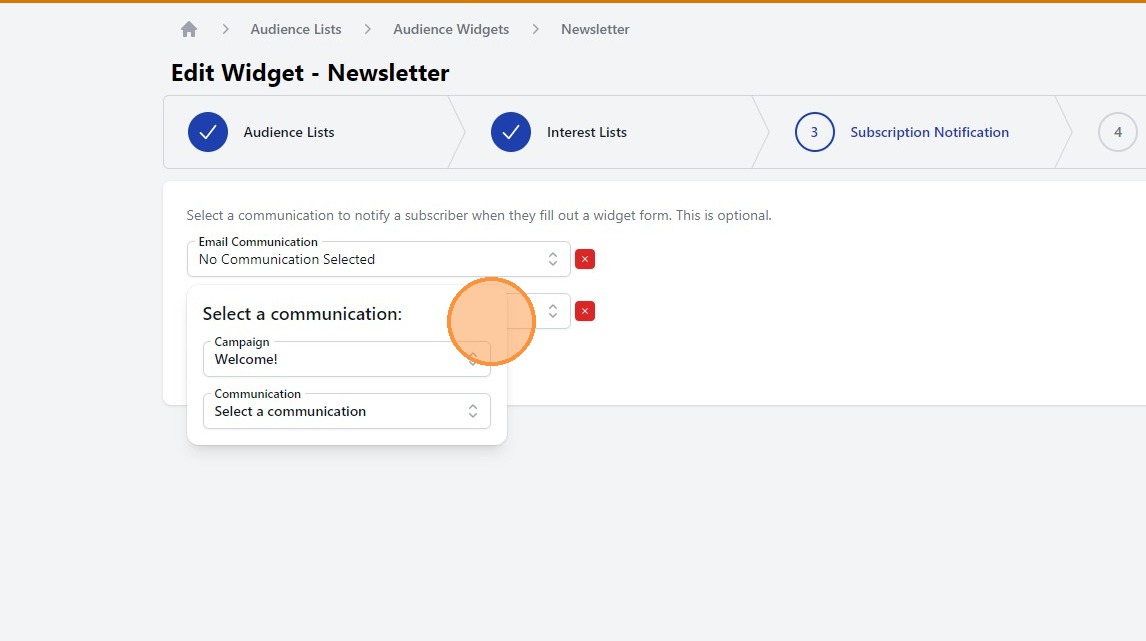
15. Subscription Notification allows you notify a subscriber once they have filled out a widget form. This is optional. Please note - the communication would need to be configured in advance.
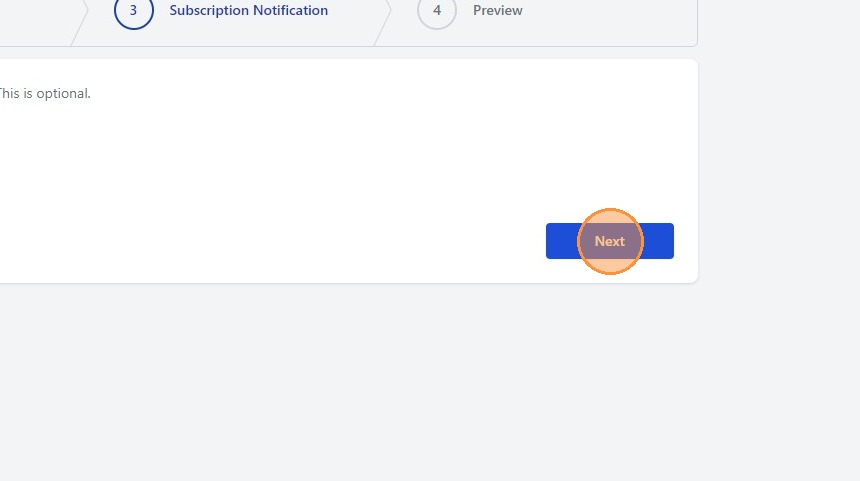
16. Click "Next" to proceed
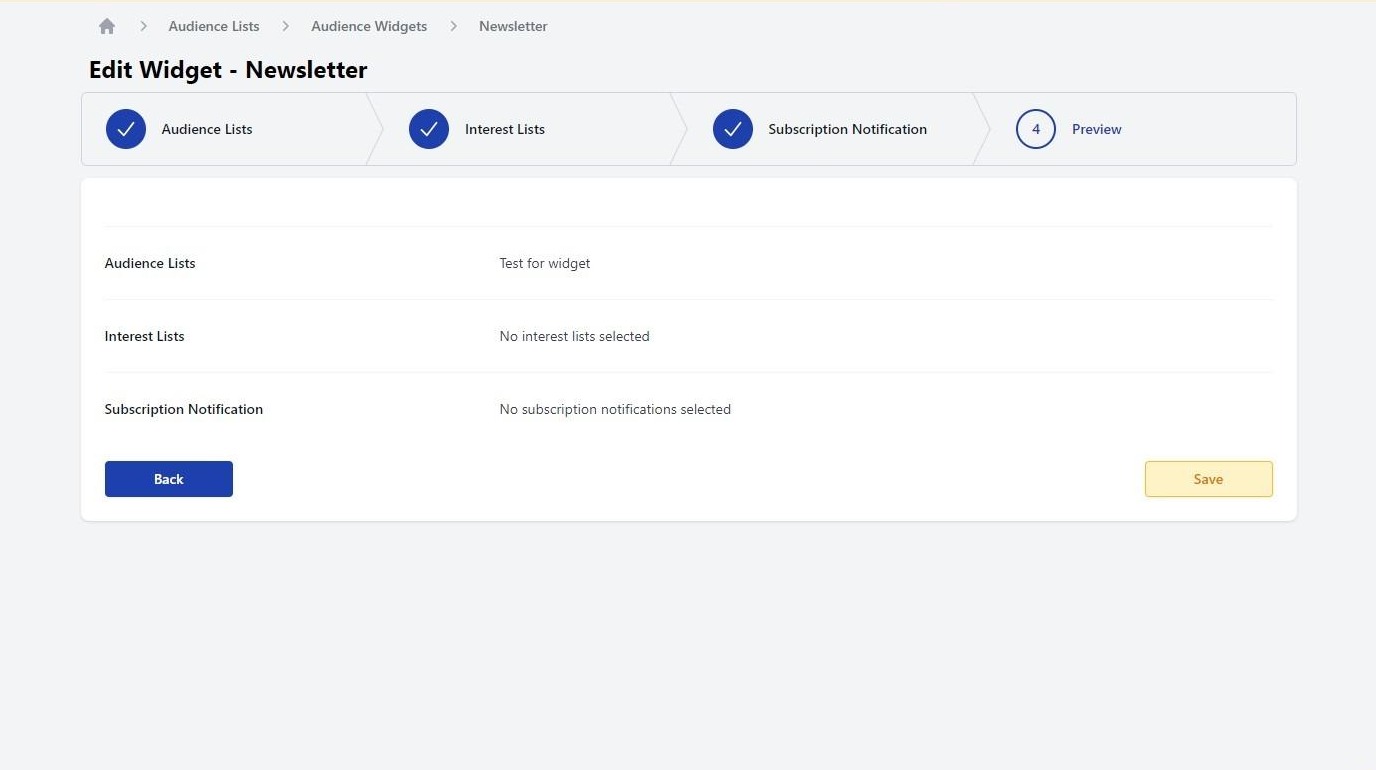
17. Preview confirms your selected options for the widget. Click "Save" and you have created the widget.
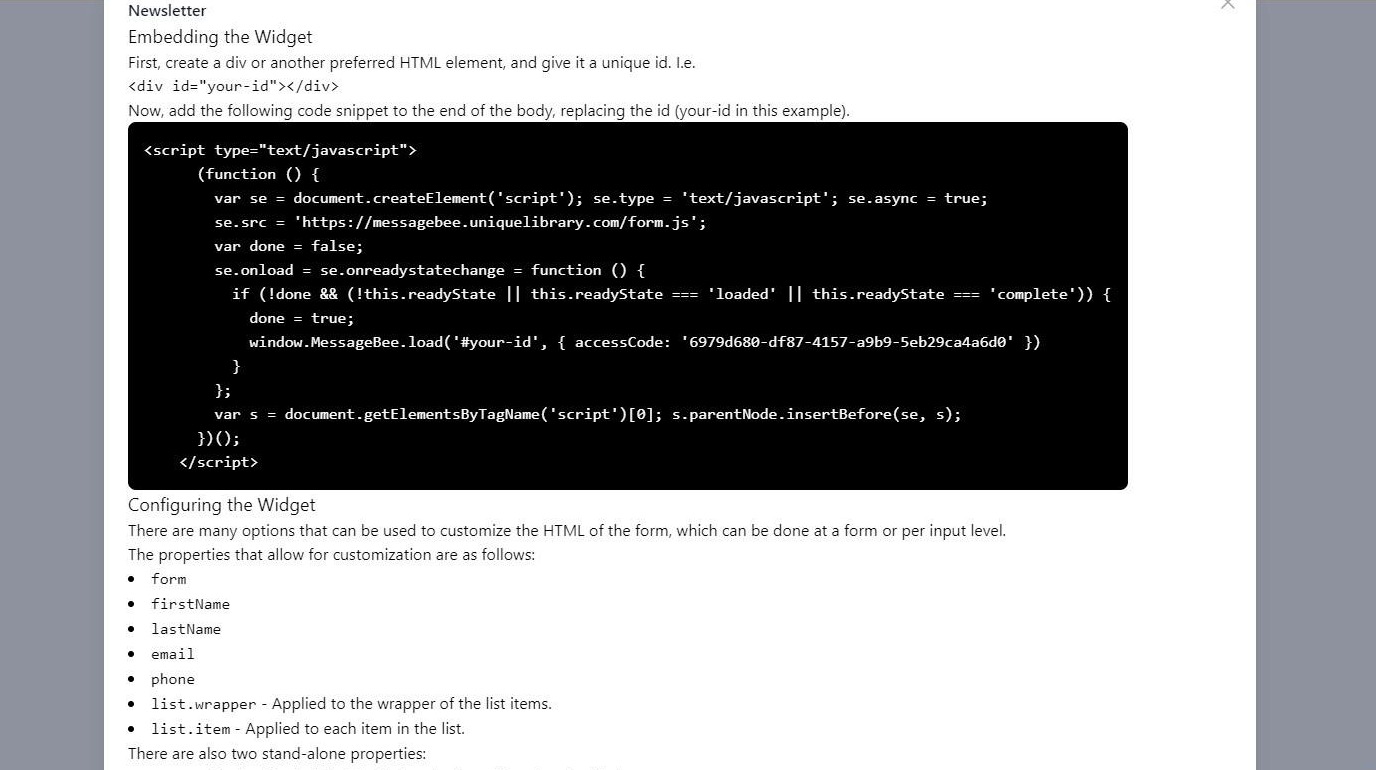
18. EMBEDDING THE WIDGET
19. To receive the code to embed the widget. you will want to select the 3 dot kebab menu that corresponds with the desired widget.
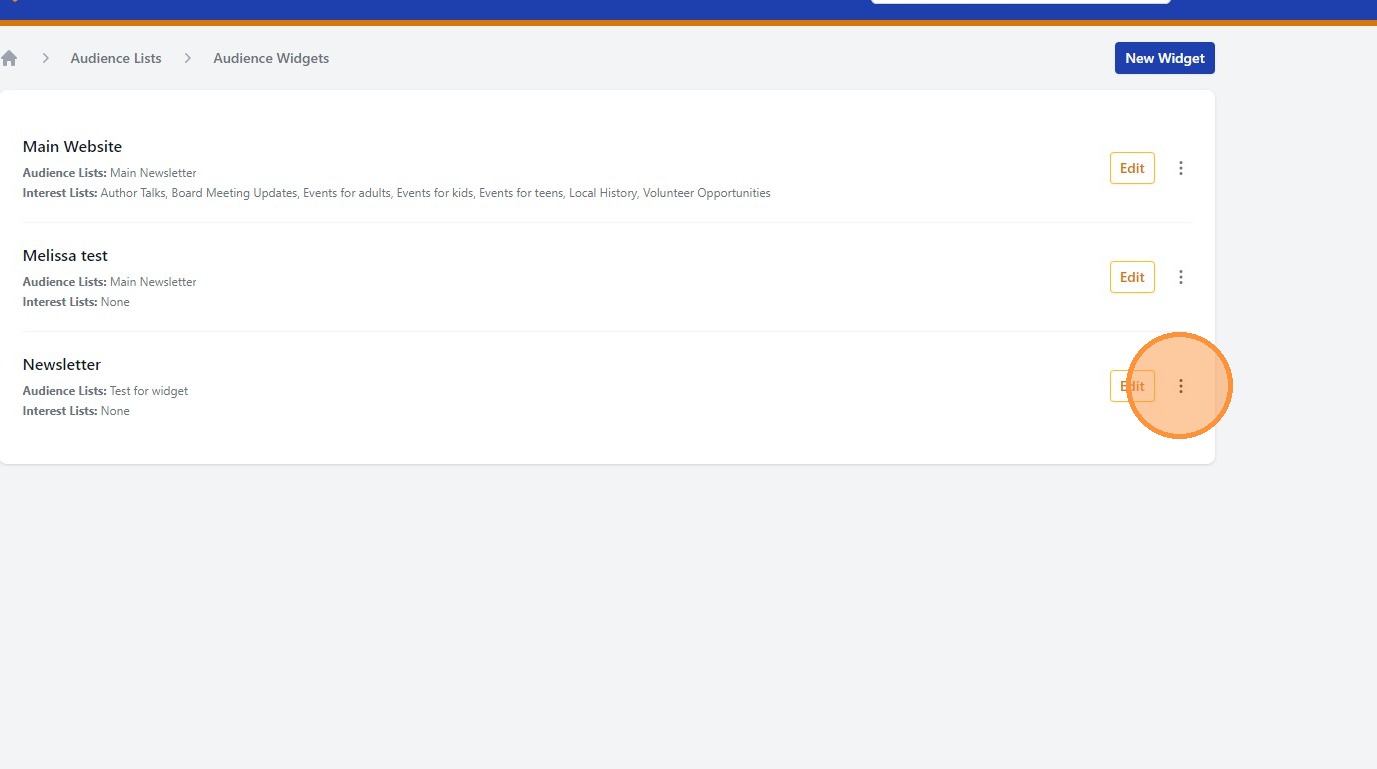
20. Click "Embed

21. You will then receive instructions on embedding the widget to your site.