Advanced Search Reports Filters
This guide offers a step-by-step approach to using advanced search filters in MessageBee, enabling users to efficiently track and manage notifications sent to patrons. By learning how to apply specific filters, such as viewing only failed notifications or reports for individual patrons, users can streamline their reporting process and gain clear insights into communication effectiveness.
1. From the home page of MessageBee, locate and click on the Reports tab.
In the drop-down menu, select Search Reports to open the Search Reports page

2. On the Search Reports page, input the patron's phone number, email, or barcode in the provided fields. This will allow you to pull up any notifications sent to them within a specified time frame
If you want to filter for specific types of notifications (e.g., only failed notifications), click on the Advanced Filters option.
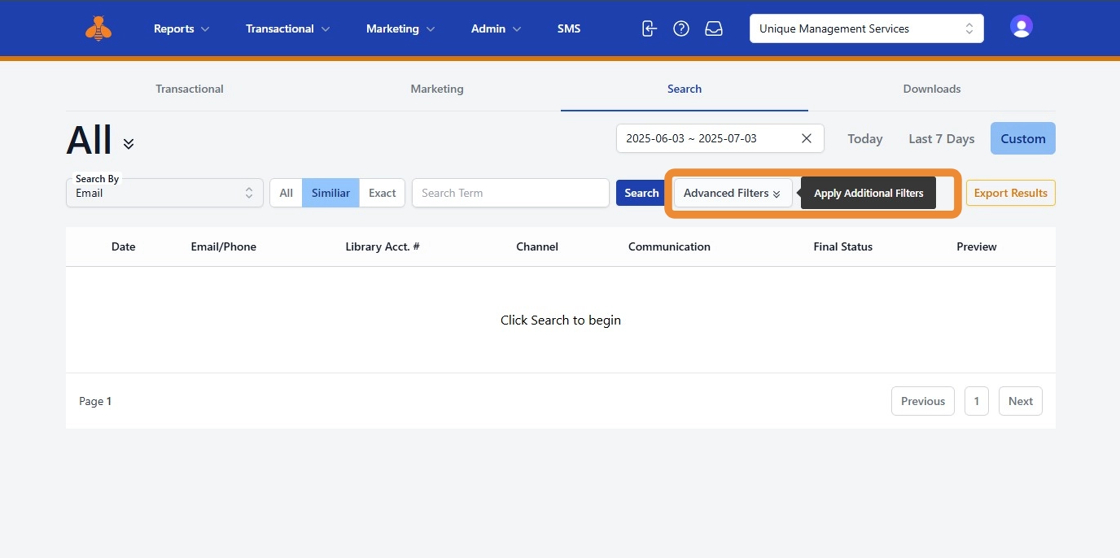
3. From the available choices, select the type of notifications you wish to see:
- Delivered
- Failed
- Opted Out
- Sent

4. Once you have selected your filter, select Apply.

5. After selecting your desired filter, click the Apply button. You will now see reports specific to the patrons based on your filter selection.
You will now only see the notifications according to the filter applied. For example, if you selected 'Failed,' only failed reports will be displayed.

6. To view reports for a single patron using advanced filters, enter the patron's information again, then click on Advanced Filters from the drop-down menu.

7. MessageBee will generate a filtered view of that single patron's notifications report.
