Campaign Groups
This guide provides a straightforward approach to efficiently managing and organizing campaigns in MessageBee.
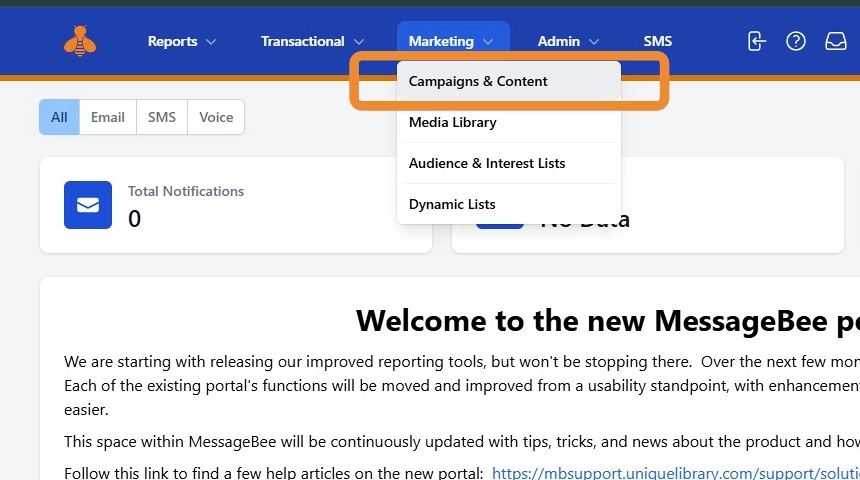
1. From the home page, navigate to the Marketing menu.
From the dropdown options, select Campaigns and Content.
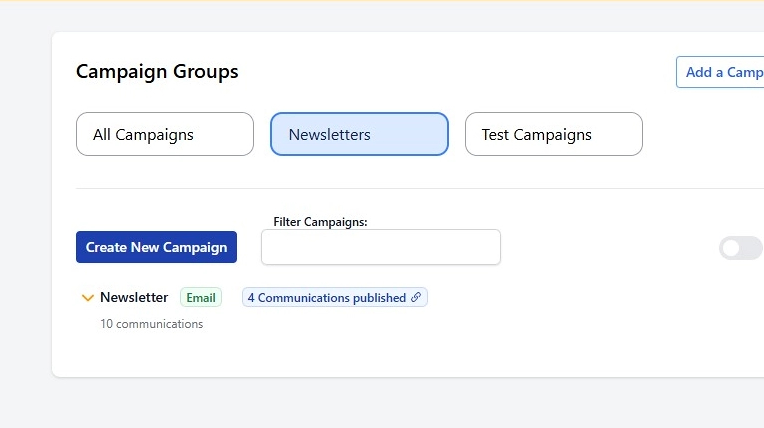
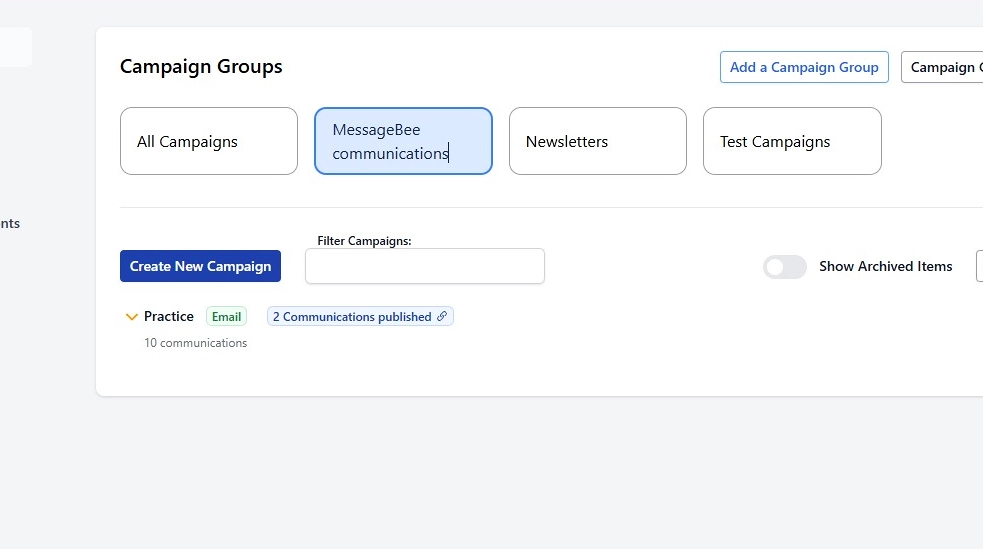
2. Campaigns can be organized using filter groups.
For instance, you can categorize them into Newsletters and Test Campaigns.
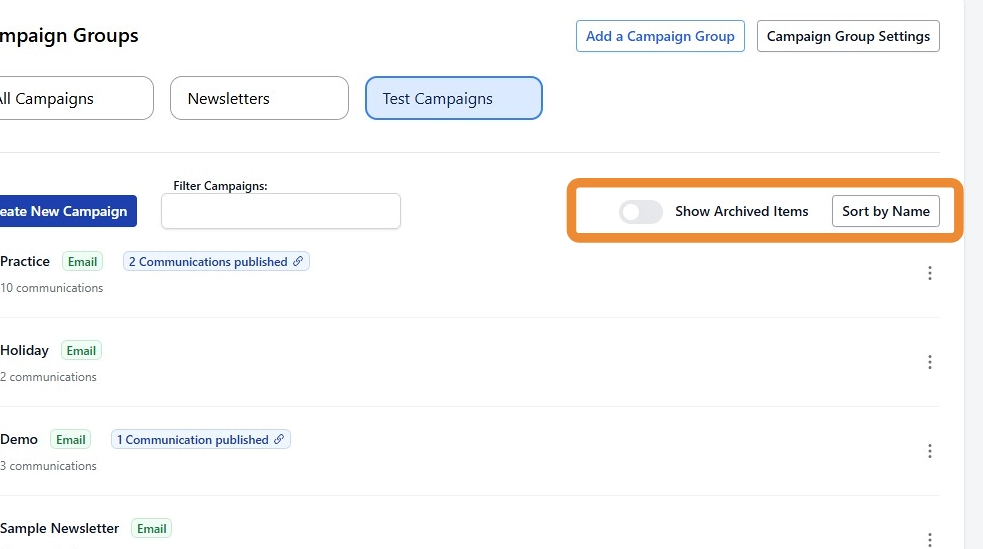
3. You also have the option to view archived campaigns and content for easier access.
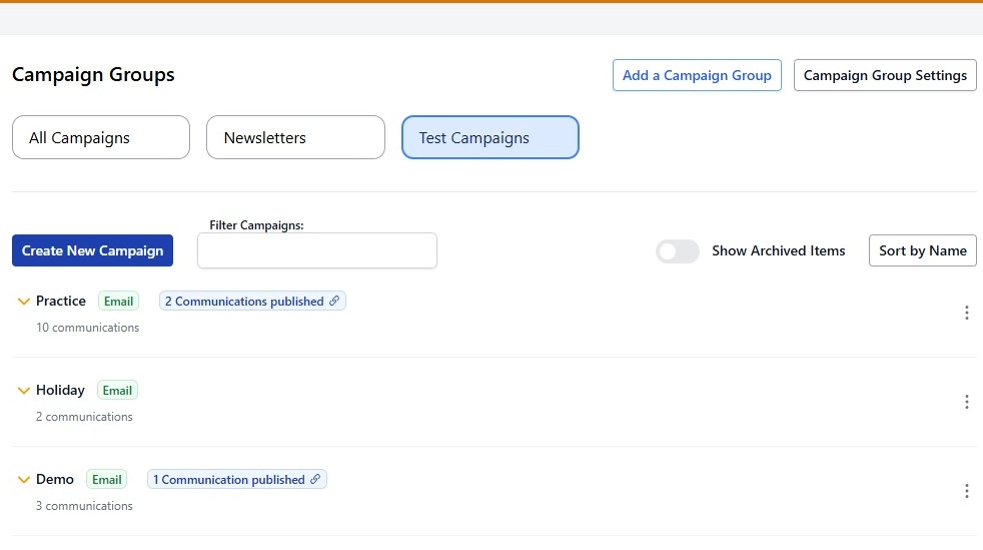
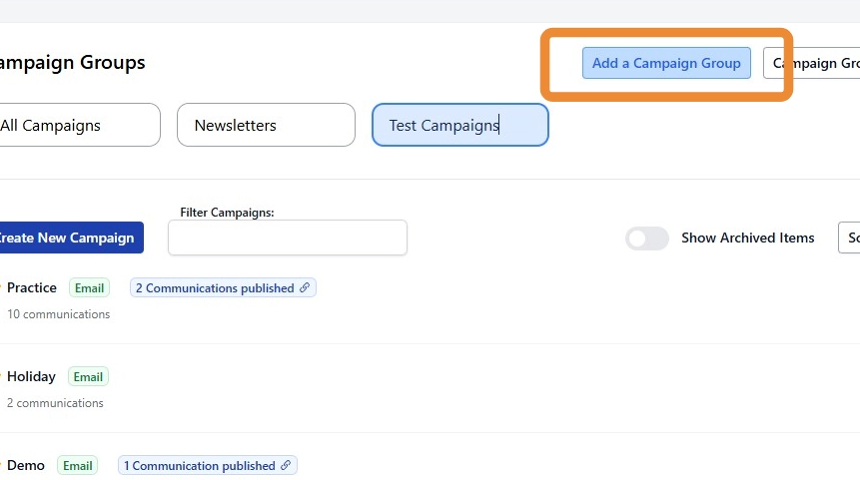
4. To create a new grouping, click on Add a Campaign Group.
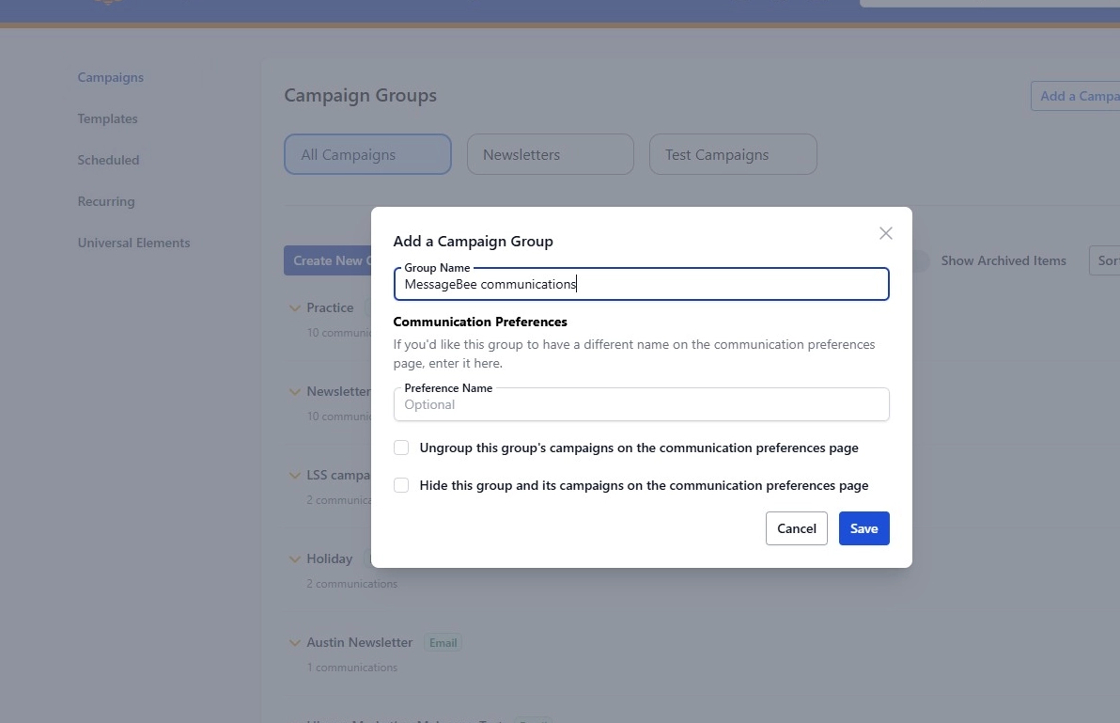
5. Enter a name for your new group and click Save to establish it
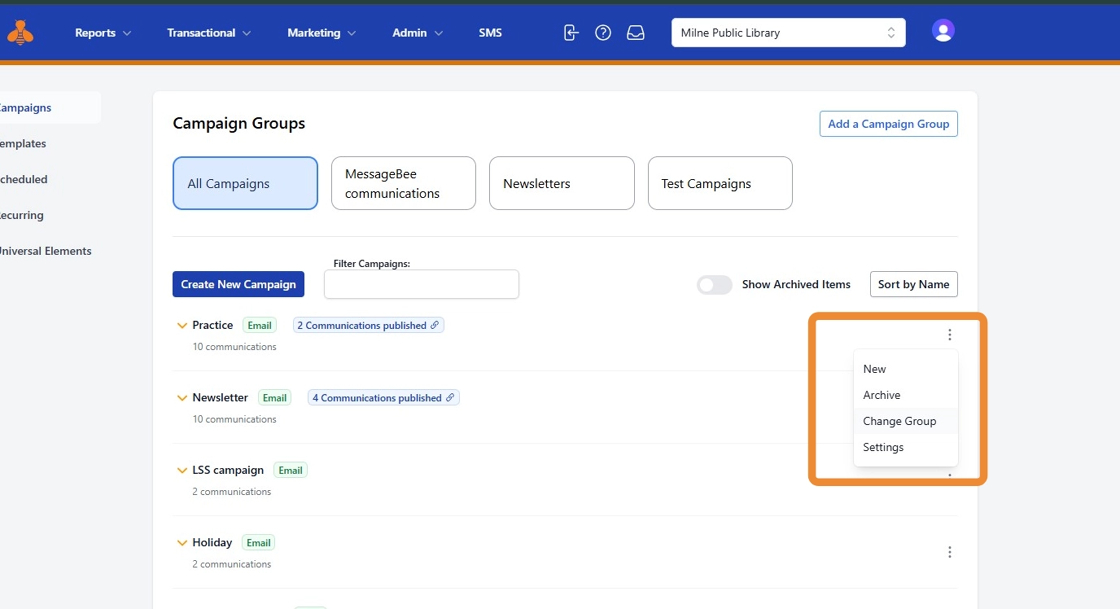
6. To add a campaign to your grouping, Locate your established campaign and click on the ellipses (three dots) next to it.
Select Change Group from the options.
7. Choose your desired grouping from the dropdown menu and click Save.
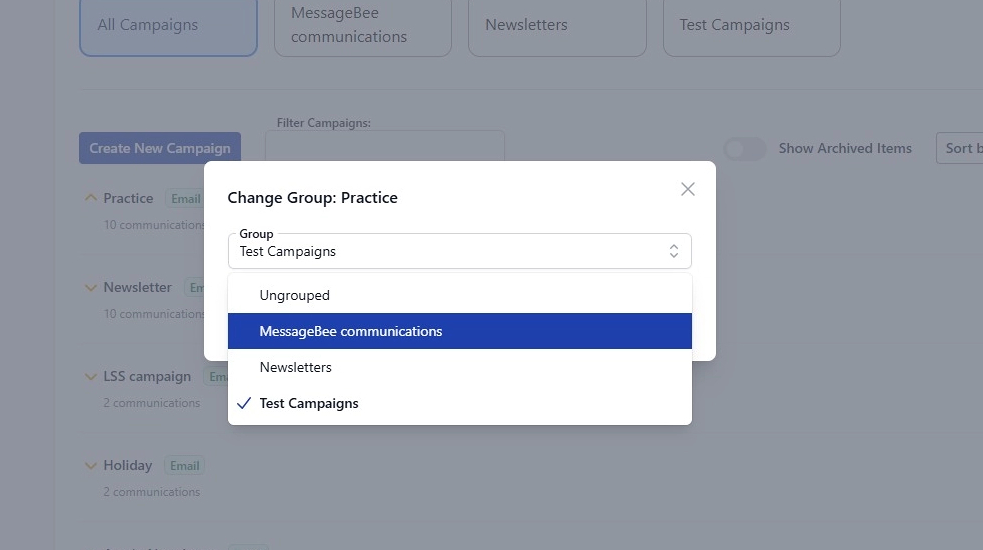
8. The campaign will now appear under the selected grouping.
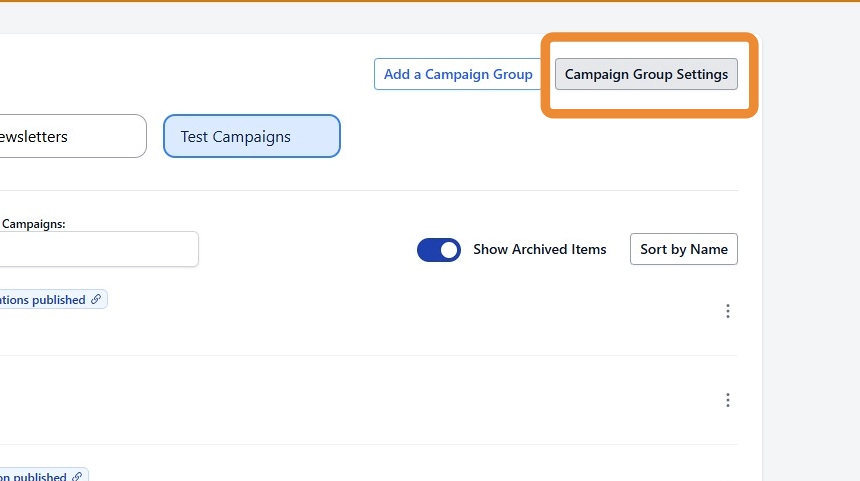
9. If you need to modify your grouping settings, click on the grey box labeled Campaign Group Settings.
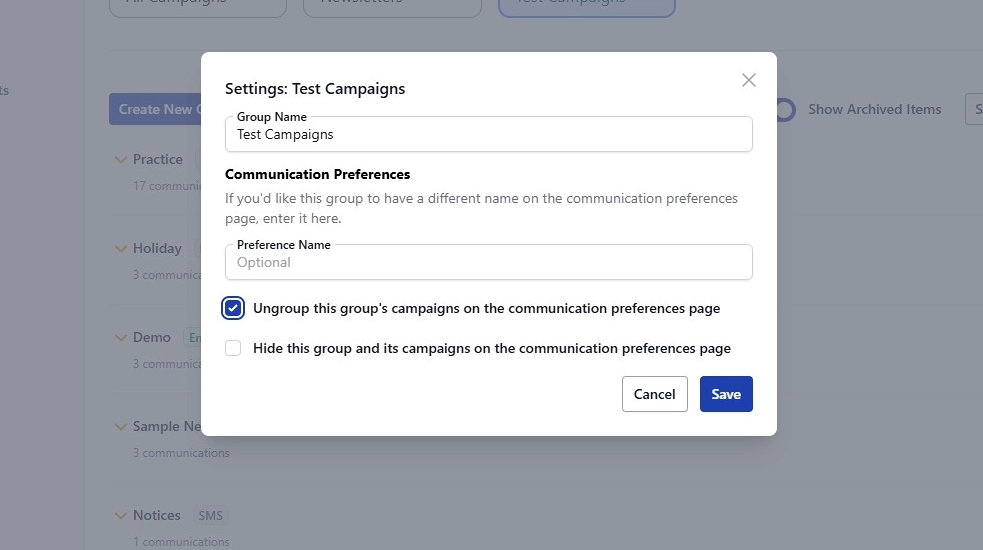
10. Here, you can change the group name, set a preferred name, ungroup the campaign, and more.
Remember to click Save to publish any changes made.
11. By following these steps, you can efficiently manage and organize your campaigns in MessageBee.