Viewing Transactional Templates
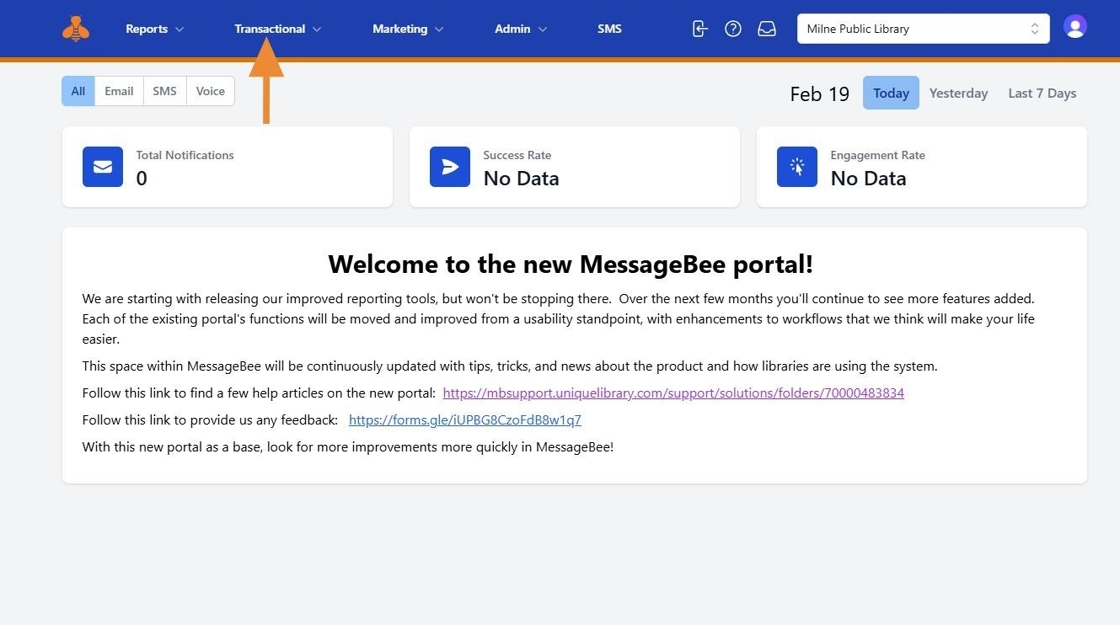
1. To view your transactional (circulation notification) templates in MessageBee, navigate to the Transactional tab.
2. You will see a drop down menu. Select the desired communication channel to view the corresponding templates. In the example below, we have selected the Email channel.

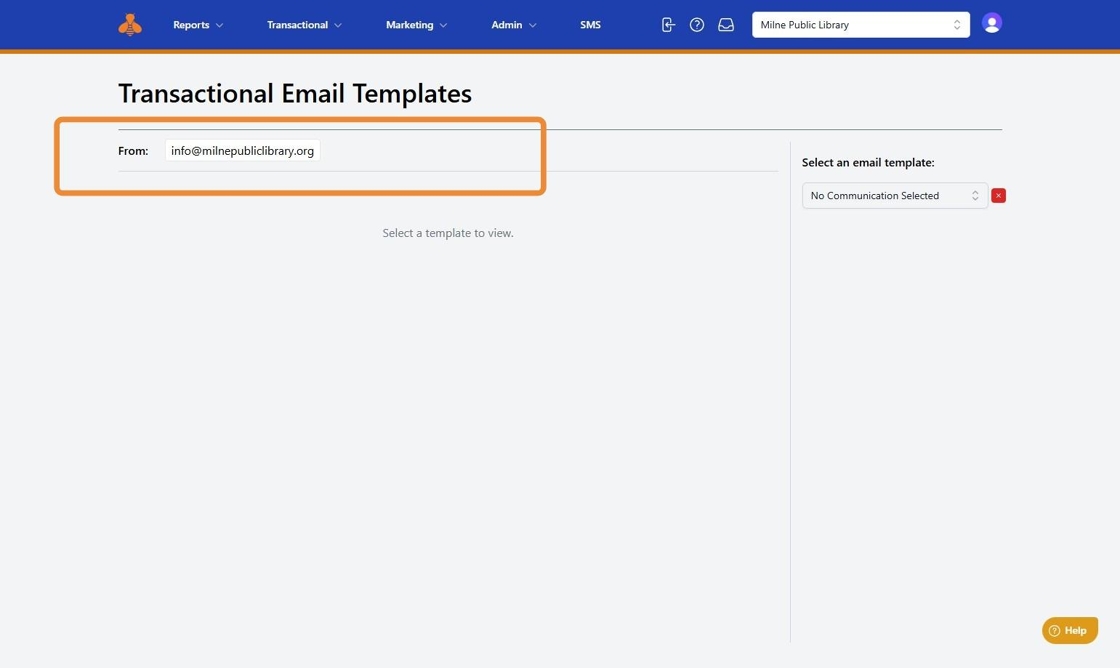
3. You will then be able to select and view the wording/design for the desired template.
At the top of the page, you’ll see "From" email address. For voice/SMS notifications, you will see the "From" phone number.
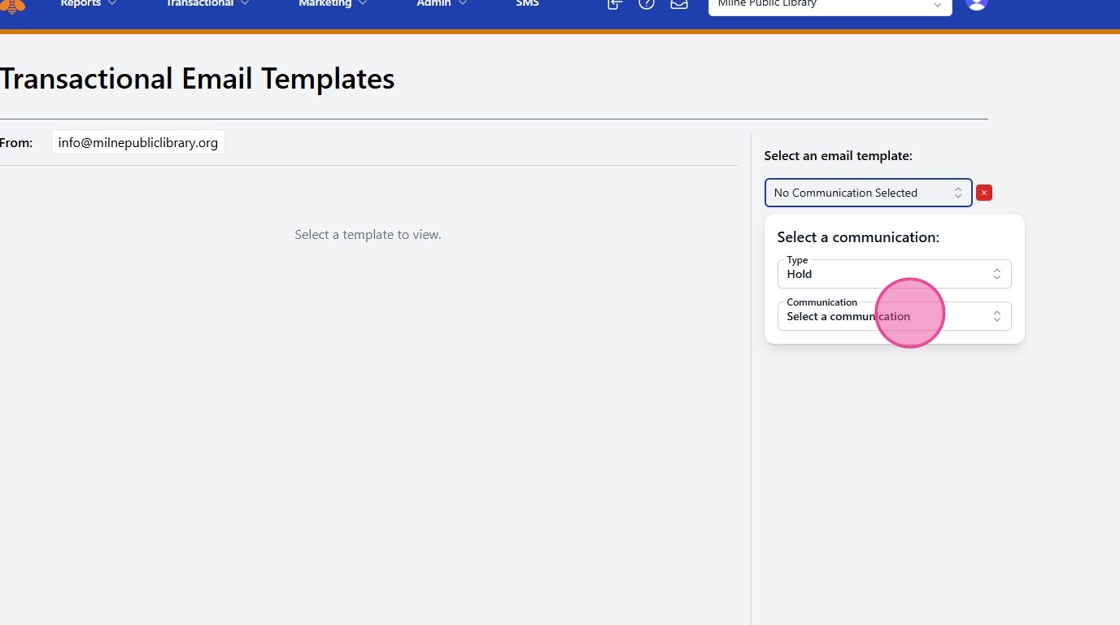
4. To the right you will see Select an email template. This will allow you to slect the desired communication you would like to review and/or edit. You will select a Type (Hold, Overdue, etc.) and then the specific Communication (Hold pickup, hold reminder, etc.). In the example below, we have selected the hold and then the Milne Hold.
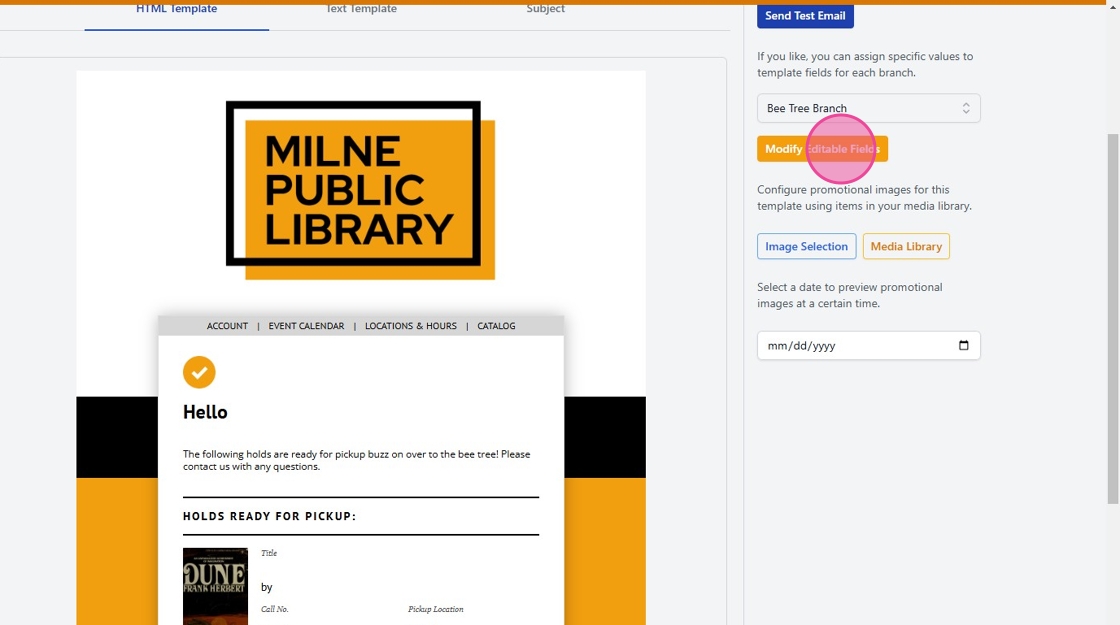
5. Once you make your selection, a preview of the message layout will appear.
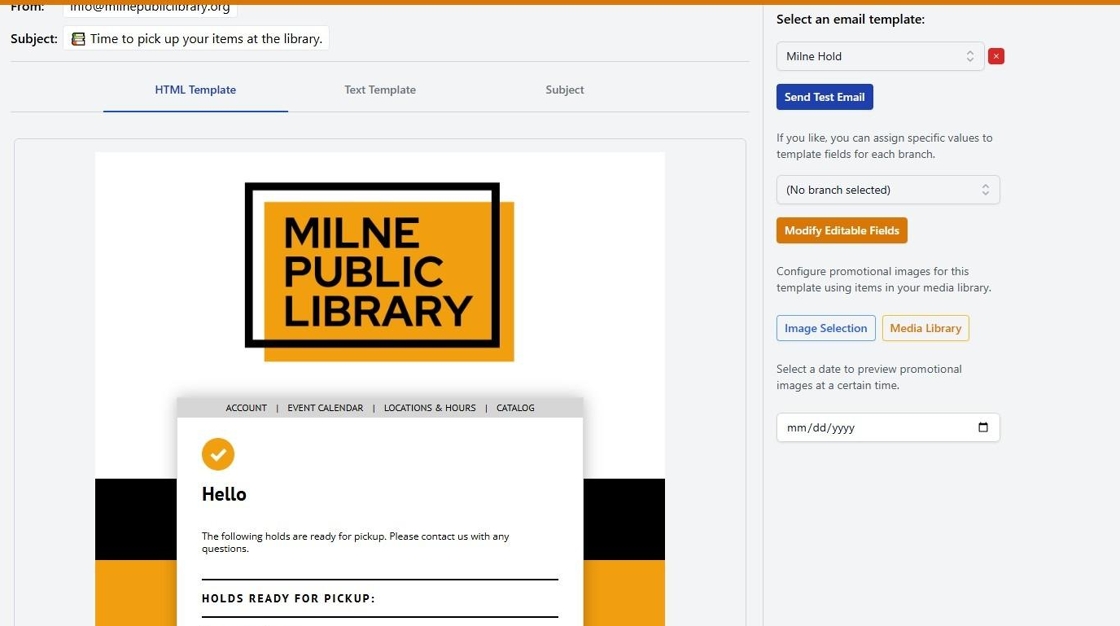
6. If you manage multiple locations and are set up for branch overrides, you can choose a specific branch from the drop-down menu to tailor the message for that location. Please note - this is not the standard configuration.

7. To modify the template, click the Modify Editable Fields button on the right.
8. You will be presented with the Modify Editable Fields table which details all the fields that can be edited.
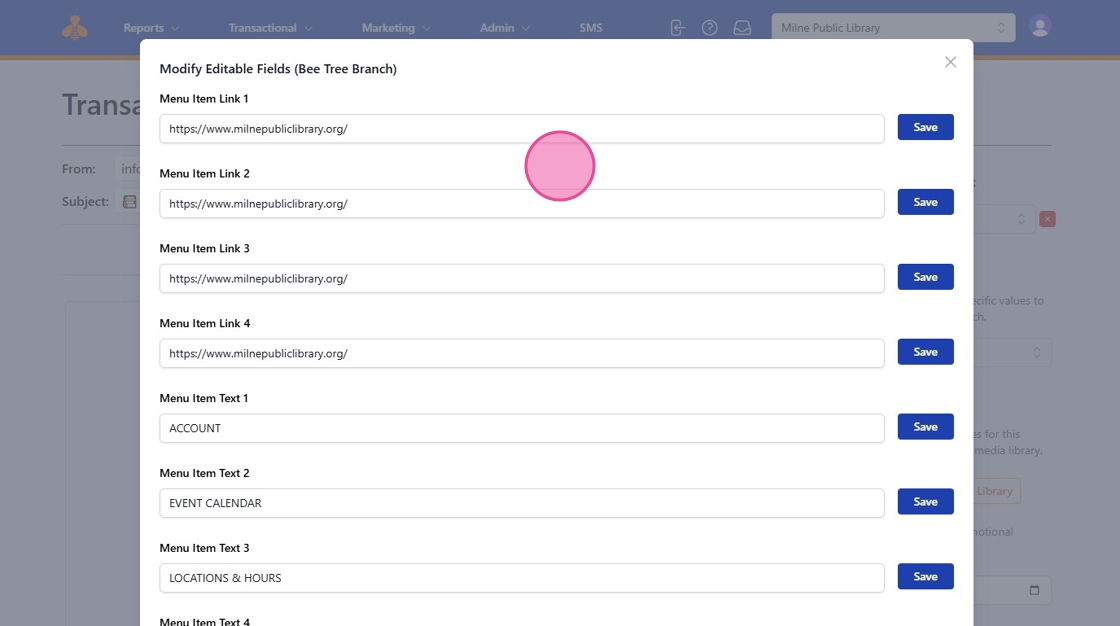
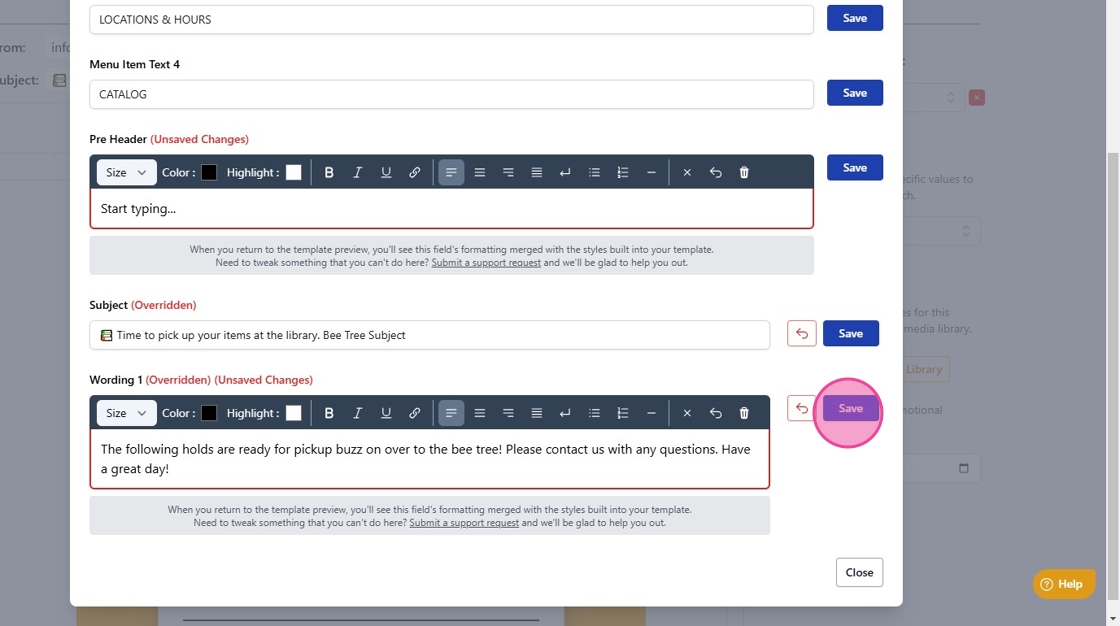
9. Making changes is easy! Simply type the updated information.
Important: After making any edits, be sure to click the SAVE button next to the content to save your changes.
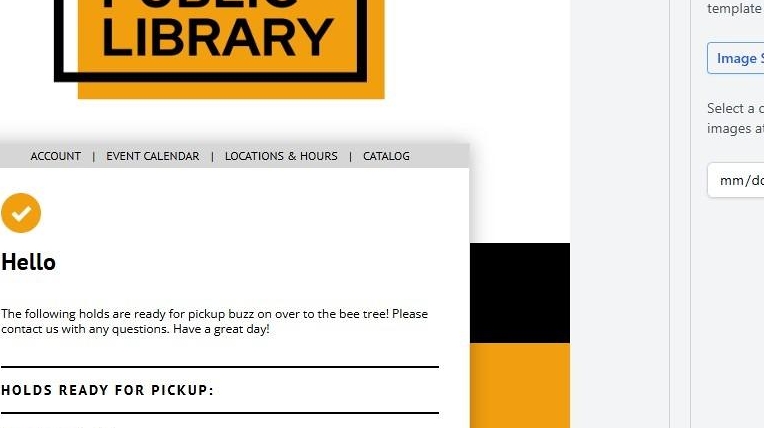
10. You will be able to immediately view your updated content.
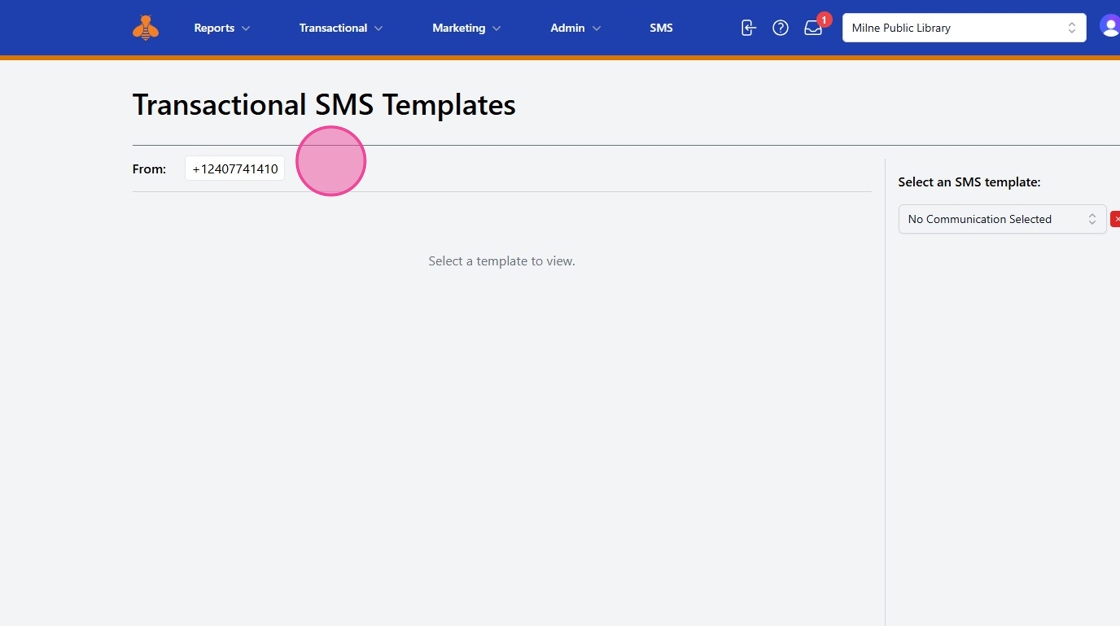
SMS/Voice Template
11. This same process holds firm for both SMS and Voice notification templates. Select either Voice or SMS from the transaction menu template. You will be able to view the "From" number.
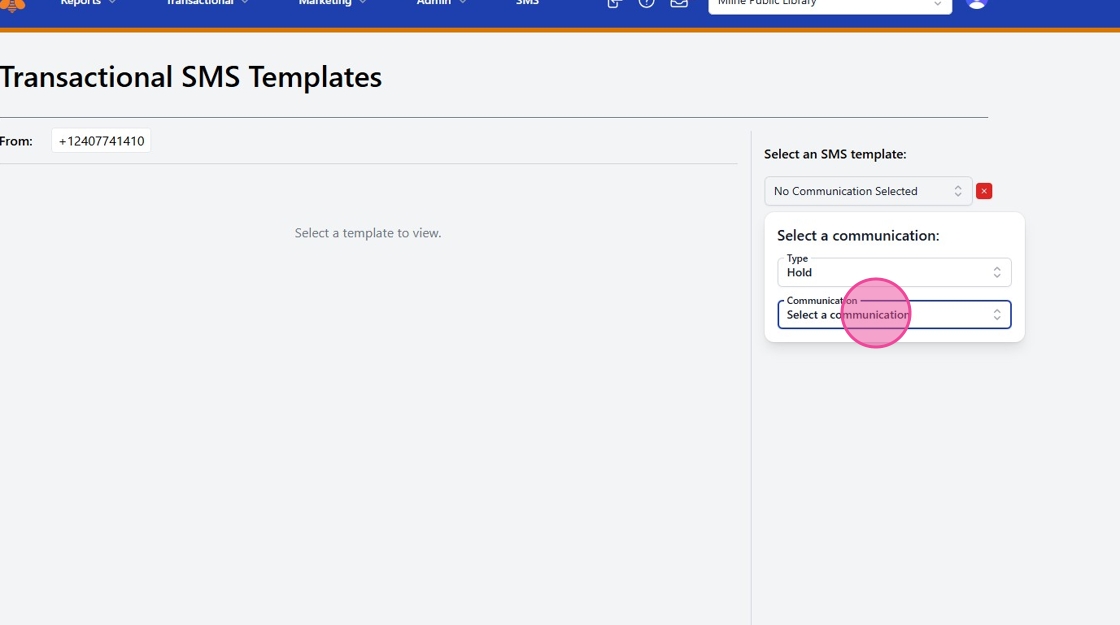
12. To the right, you will need to select your communication type and specific communiation within that type.
13. For example, below we are reviewing the Milne Hold SMS Message -Spanish template.
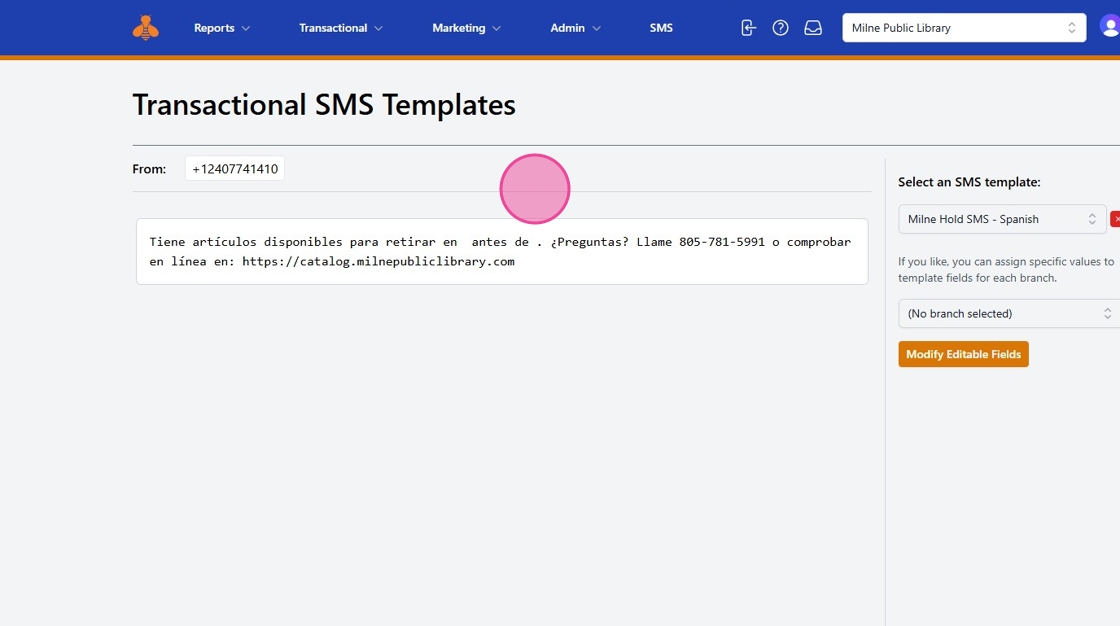
14. To make changes to the message, click Modify Editable Fields, edit the text as needed, and click SAVE to apply your changes.
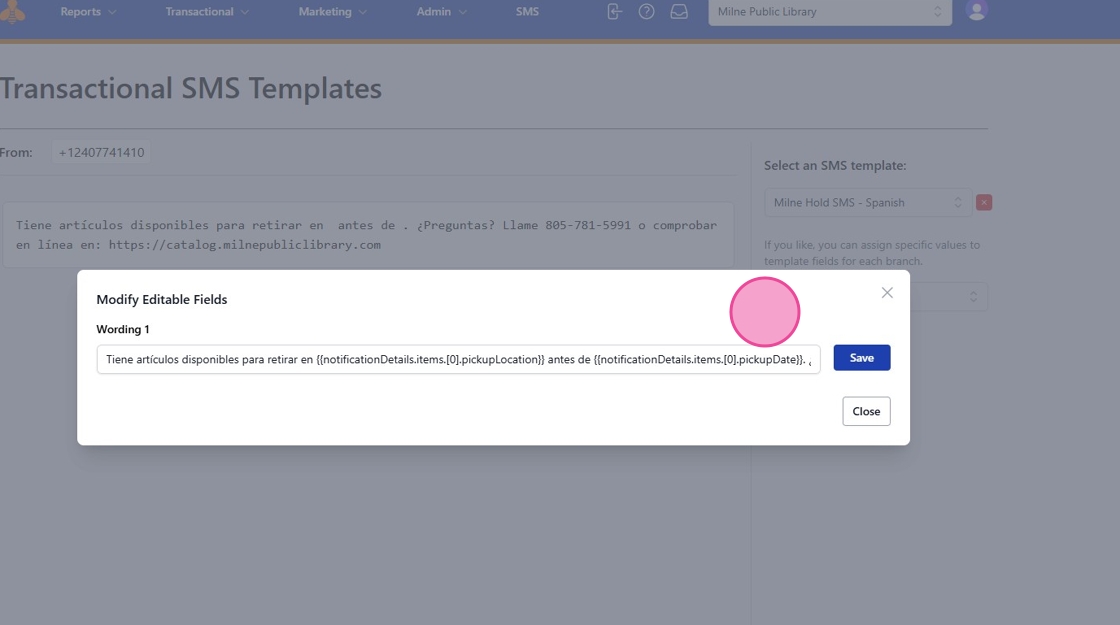
Alert! Do NOT edit the fields that are listed in brackets such as the example below.
15. Note: Do NOT modify any fields enclosed in curly brackets unless you have notified our team of your specific needs.

16. Hit SAVE to update your modified fields.
Tip! Feel free to reach out to our team for further clarification and assistance with changing your notification templates.