Creating and Managing Interest Lists
An Interest List is a curated group of individuals or patrons who have expressed interest in a specific service or topic. Follow the below steps to create and manage Interest Lists effectively.
1. To create an interest list, navigate to the marketing tab and select the "Audience Lists".
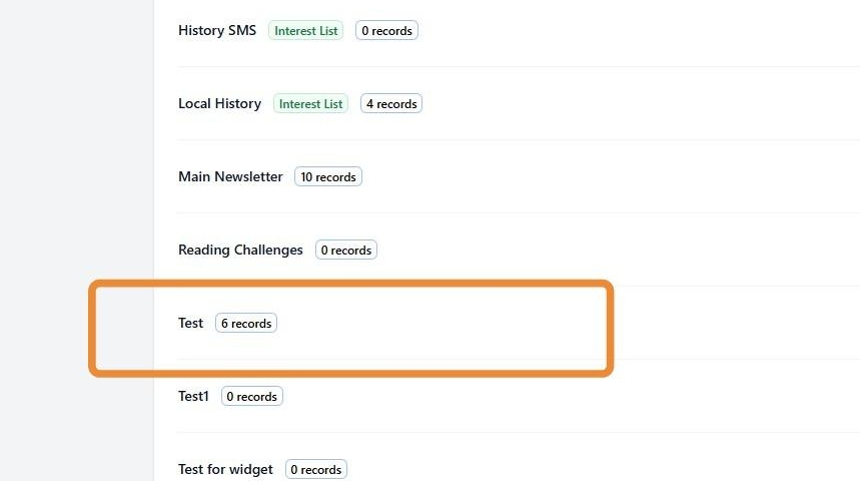
Next, Create a new Audience List or locate an existing one.
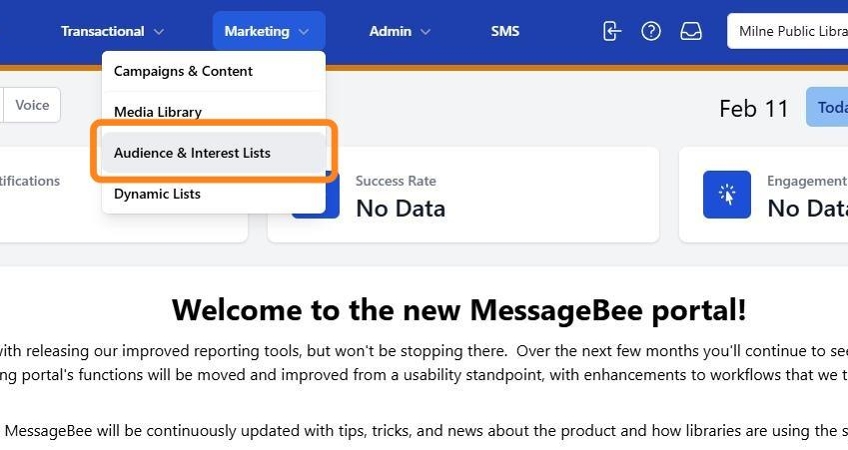
2. To convert an Audience List to an Interest list find the desired Audience List and click on the ellipses (...) on the right hand side of the list (see next step).
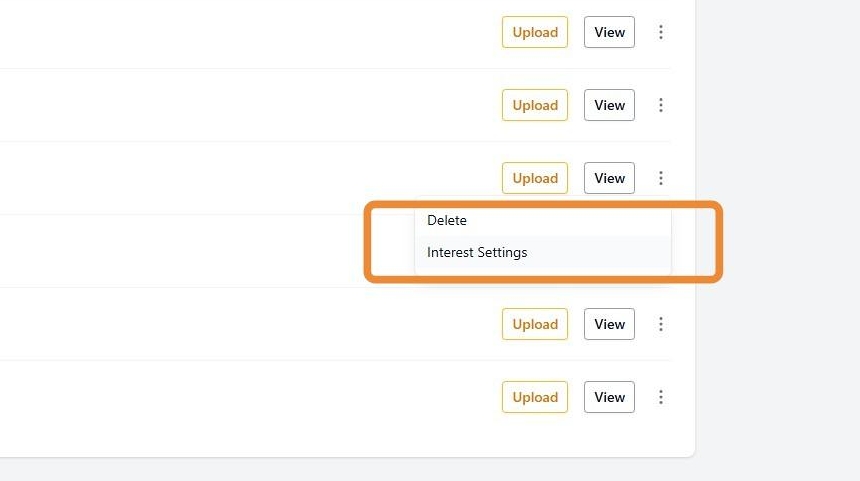
3. Once you select the ellipses on the right hand side. You will see the option for Delete and Interest Settings. Click on Interest Settings.
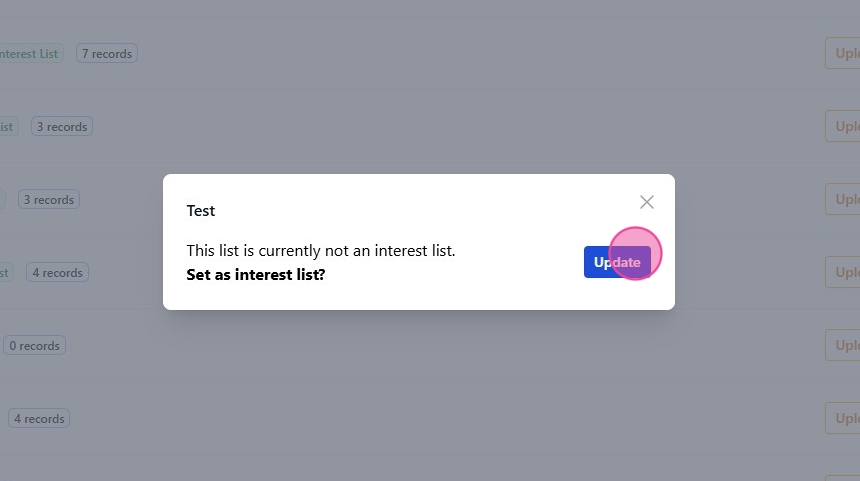
4. In the Interest Settings window, you will see the list name and an option to mark it as an Interest List.
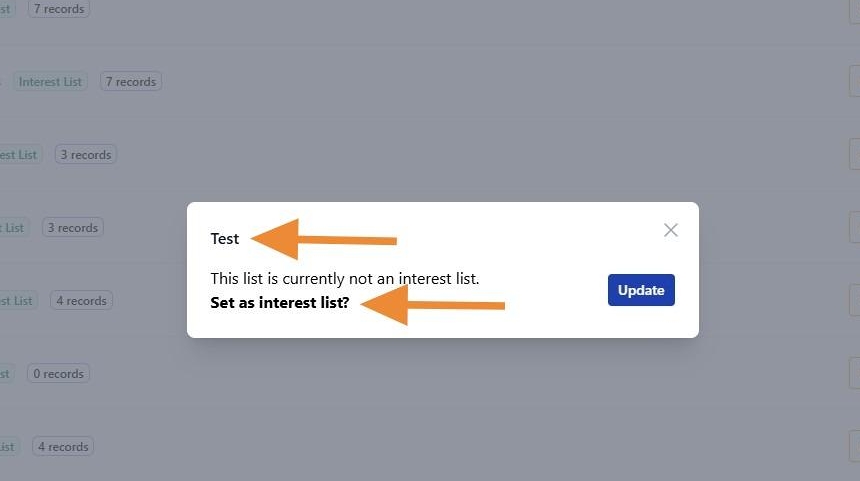
5. Click Update to confirm your selection.
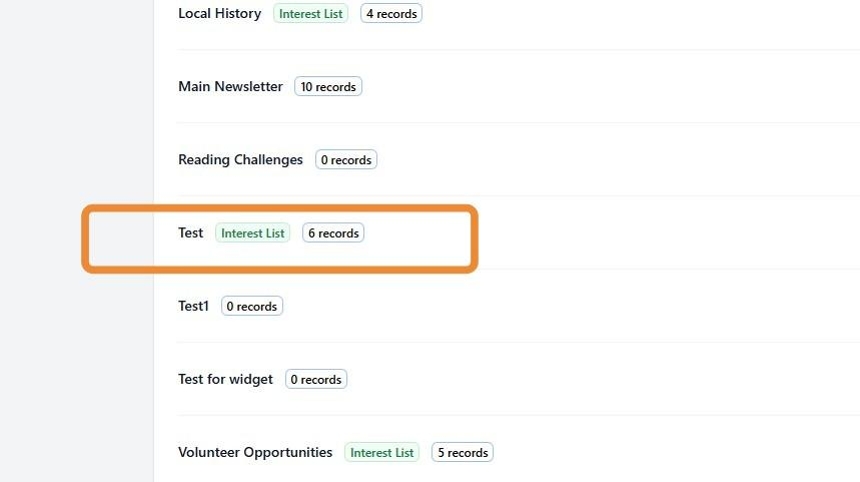
6. Your Audience List is now an Interest List. Interest Lists are easily identifiable by a green Interest List signifier.
7. Once your Interest List is set up, you can create a signup widget to embed on your website, allowing individuals to opt in to receive relevant emails.
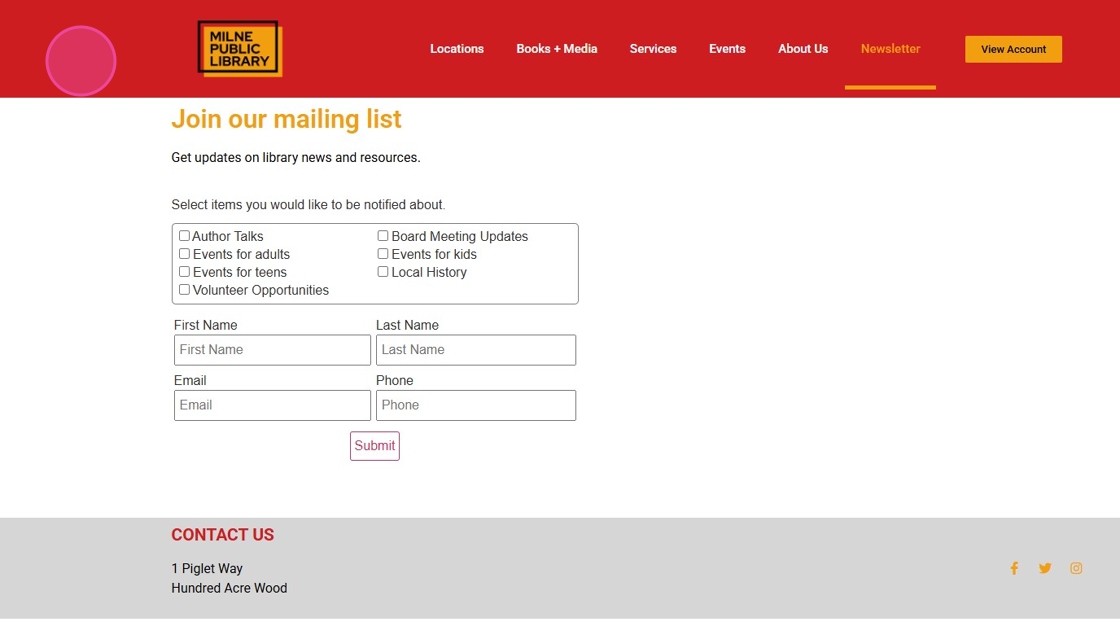
Tip! For further instructions on embedding widgets, please refer to our help article on Creating and embedding a Widget.
