How To Edit Universal Elements in MessageBee
This guide offers a clear and simple approach to editing Universal Elements in MessageBee, helping users streamline their communications by efficiently managing shared components such as logos and footers. By leveraging Universal Elements, users can maintain consistency across campaigns while retaining the flexibility to customize individual communications. This tutorial demonstrates how to access, edit, and save these elements with ease, making it an essential resource for optimizing your marketing efforts in Messagebee.
1. Universal Elements are reusable content blocks that can be integrated across all your communications, such as your library logo, footer, or other essential branding assets.
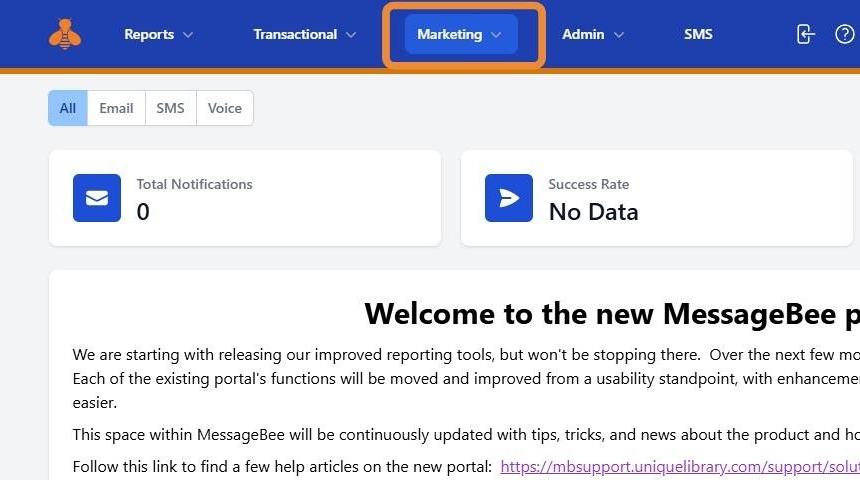
To access Universal Elements, you will need to be in the editor for a communication. From the home page of MessageBee, select the marketing tab then Campaigns & Content and select your desire content.
HOW TO CREATE A UNIVERSAL ELEMENT
2. First, create a block of content you would like to be able to replicate in other communications - in the example below we have created a footer. Once you have completed that block of content, you will want to select the section and click on the file folder icon.
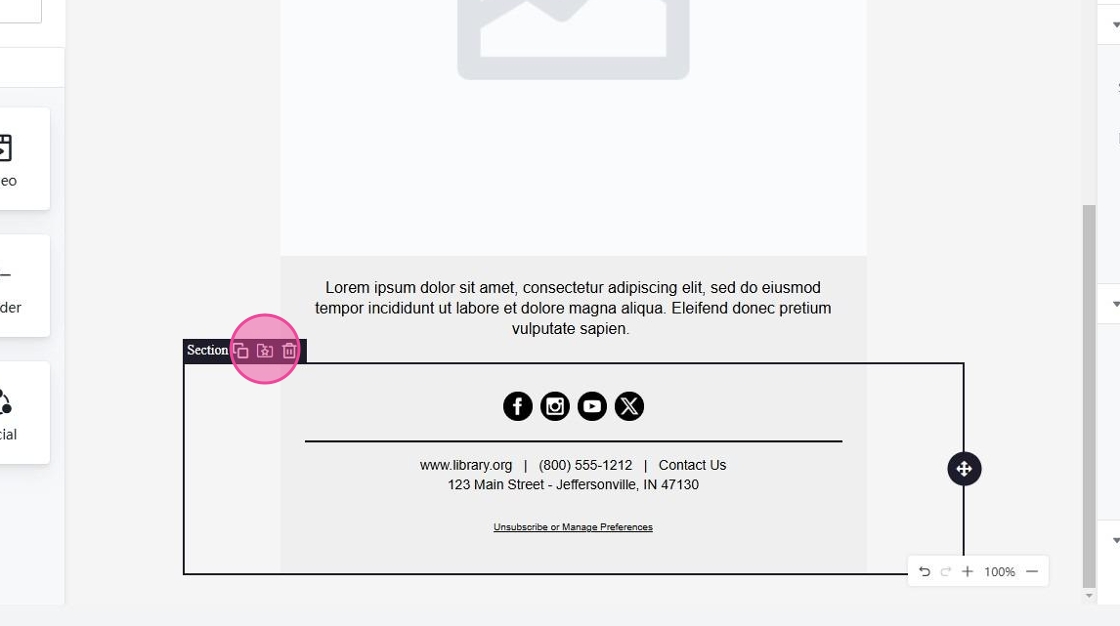
3. You will then be prompted to create an Element name. Type in your desired name and click "Save". Congratulations! You have now created a Universal Element.

HOW TO USE A UNIVERSAL ELEMENT
4. Now that you have created a Universal Element, you can drag and drop that content block into a communication. To select a Universal Element, you will want to click "Universal" from the content blocks on the left hand side.

5. Scroll through and select your desired Universal Element. In this example we are using the Footer test.
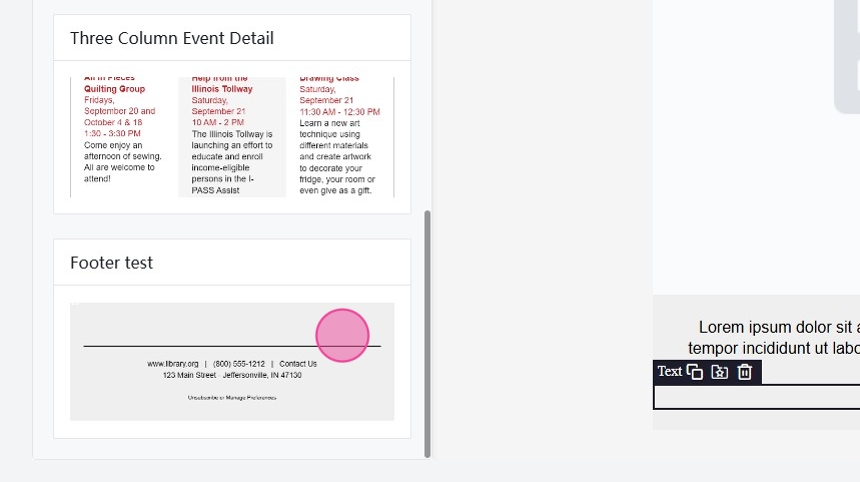
6. You will want to drag and drop that Universal Element into your communication.
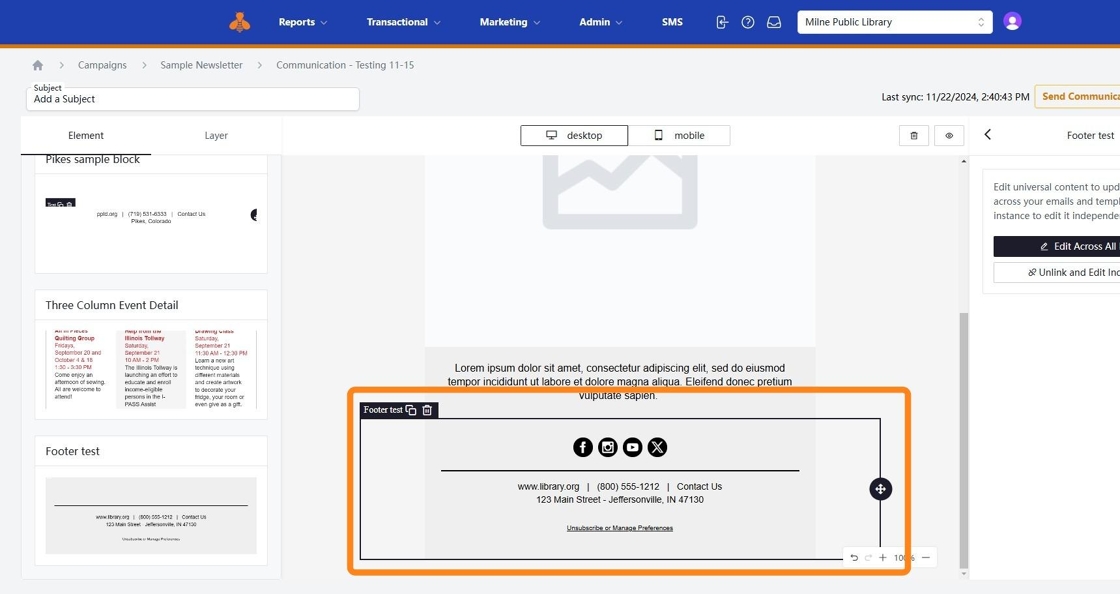
HOW TO EDIT UNIVERSAL ELEMENTS
7. There are two options for editing your Universal Element:
- Edit Across All Instances
- Unlink and Edit Independently

8. Edit across all Instances: Use this option only when you need to update a detail in a Universal Element, ensuring the change applies to all communications featuring that element.
For example, if your social media link has changed or your branding colors have been updated.

9. Click "Edit Across All Instances" to make the necessary changes to your Universal Element. Once finished, click "Publish." The update will appear in your current communication, as well as in any other communications that include the updated Universal Element.

10. Unlink and Edit Independently: Select this option if you need to customize the Element for this specific communication only.
For instance, if you’re creating a one-off message with unique branding requirements, click "Unlink and Edit Independently." Make your changes, and don’t forget to save!

HOW TO VIEW UNIVERSAL ELEMENTS
11. To view all of your saved Universal Elements, select Universal Elements in Marketing→Campaigns & Content.
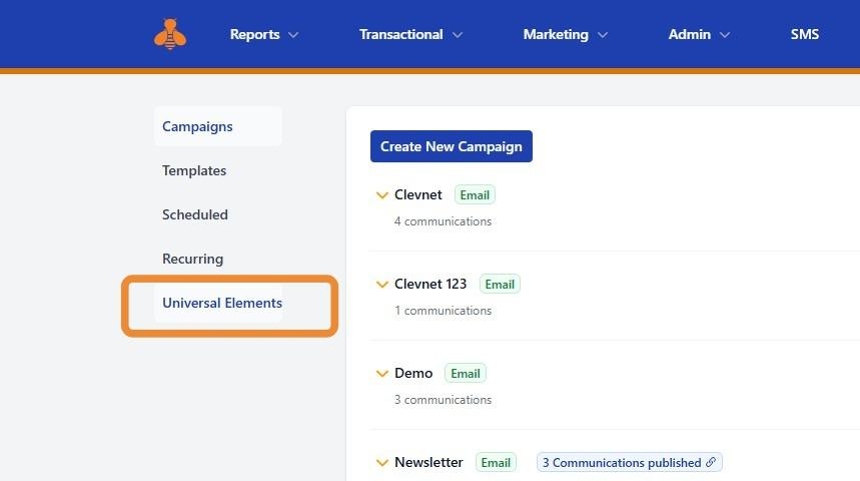
12. You will then be able to view/review all Universal Elements.
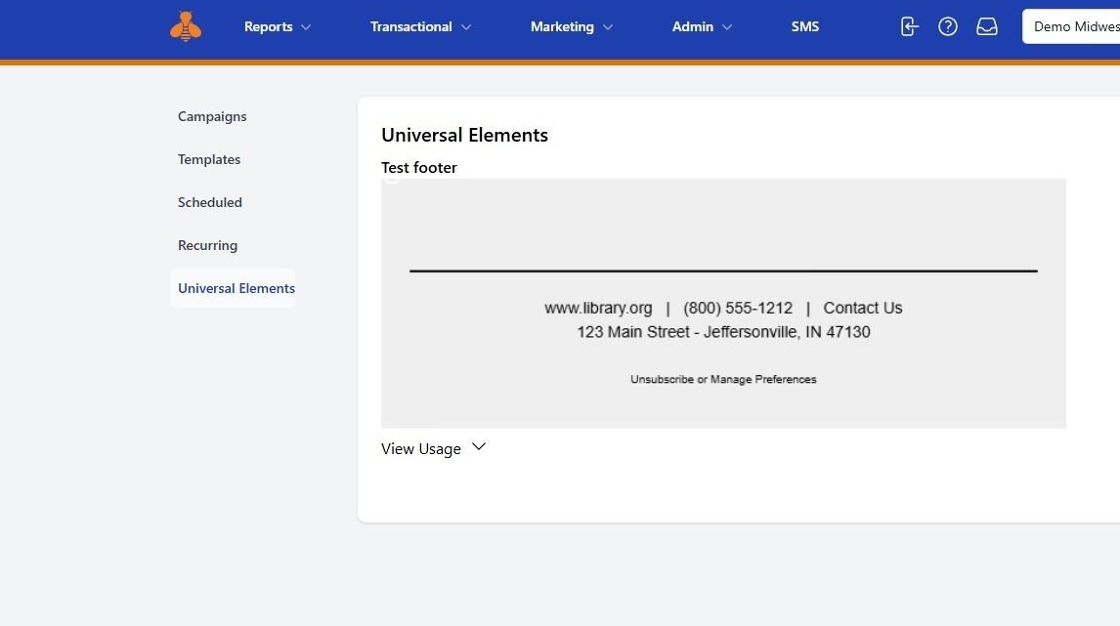
13. If you want to view which communications are using a specific Universal Element, click "View Usage." This will display a list of all communications that include the selected Universal Element.
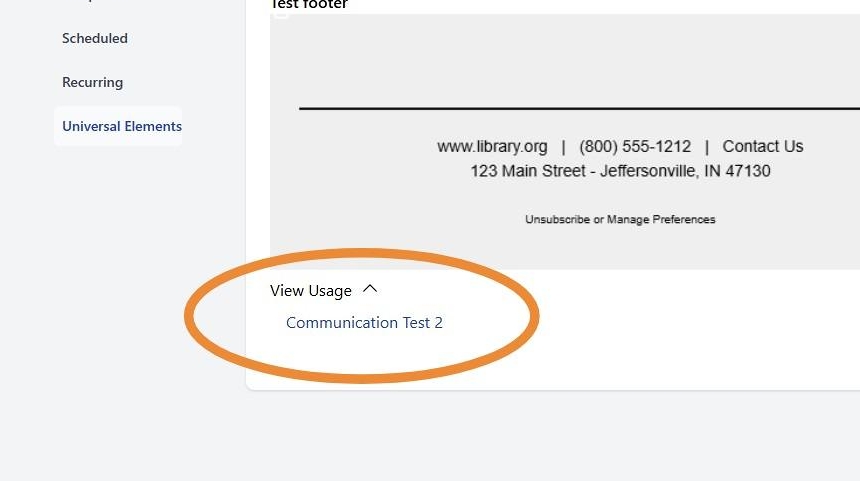
14. If you would like to view any of the listed communications, simply click on the name.

Tip: Please note - if a Universal Element has been created and is NOT being used in any communications, that element can be deleted.
